- News
- Reviews
- Bikes
- Accessories
- Accessories - misc
- Computer mounts
- Bags
- Bar ends
- Bike bags & cases
- Bottle cages
- Bottles
- Cameras
- Car racks
- Child seats
- Computers
- Glasses
- GPS units
- Helmets
- Lights - front
- Lights - rear
- Lights - sets
- Locks
- Mirrors
- Mudguards
- Racks
- Pumps & CO2 inflators
- Puncture kits
- Reflectives
- Smart watches
- Stands and racks
- Trailers
- Clothing
- Components
- Bar tape & grips
- Bottom brackets
- Brake & gear cables
- Brake & STI levers
- Brake pads & spares
- Brakes
- Cassettes & freewheels
- Chains
- Chainsets & chainrings
- Derailleurs - front
- Derailleurs - rear
- Forks
- Gear levers & shifters
- Groupsets
- Handlebars & extensions
- Headsets
- Hubs
- Inner tubes
- Pedals
- Quick releases & skewers
- Saddles
- Seatposts
- Stems
- Wheels
- Tyres
- Health, fitness and nutrition
- Tools and workshop
- Miscellaneous
- Buyers Guides
- Features
- Forum
- Recommends
- Podcast
feature
 Step13
How to fit & remove pedals — 10 easy steps to pedal happiness
Pedals screw into cranks using a thread that's about the last universal standard in bikes. Fitting them and removing them is as easy as screwing two things together, but there are some tricks to make the job easier and faster. Here's how.
The most important thing you need to know about pedals is that the threads are different between left and right sides. The drive-side pedal has a right-hand thread — the usual kind, that you turn clockwise to tighten. But the left hand side has a left hand thread, so it tightens anti-clockwise. Your fingers are probably so used to right-hand threads that you'll get this wrong a lot, but after a while it becomes a habit.
The left-hand pedal has a left hand thread because otherwise it would unscrew itself as you ride.
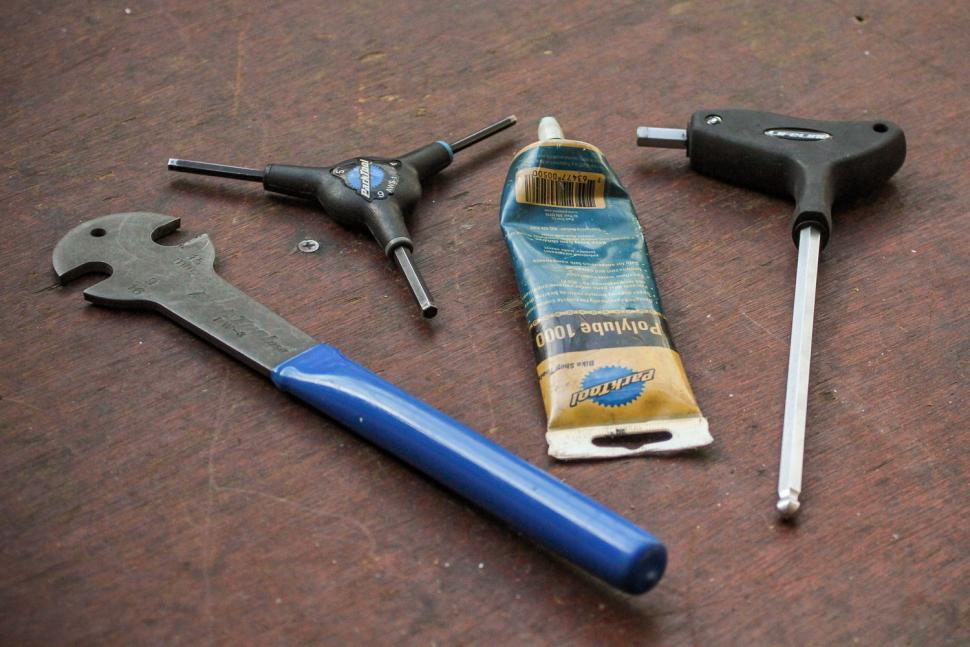
Tools & Materials
• Pedal wrench with 15mm end
• 6 or 8mm Allen key
• Grease
Identifying your pedal axle type
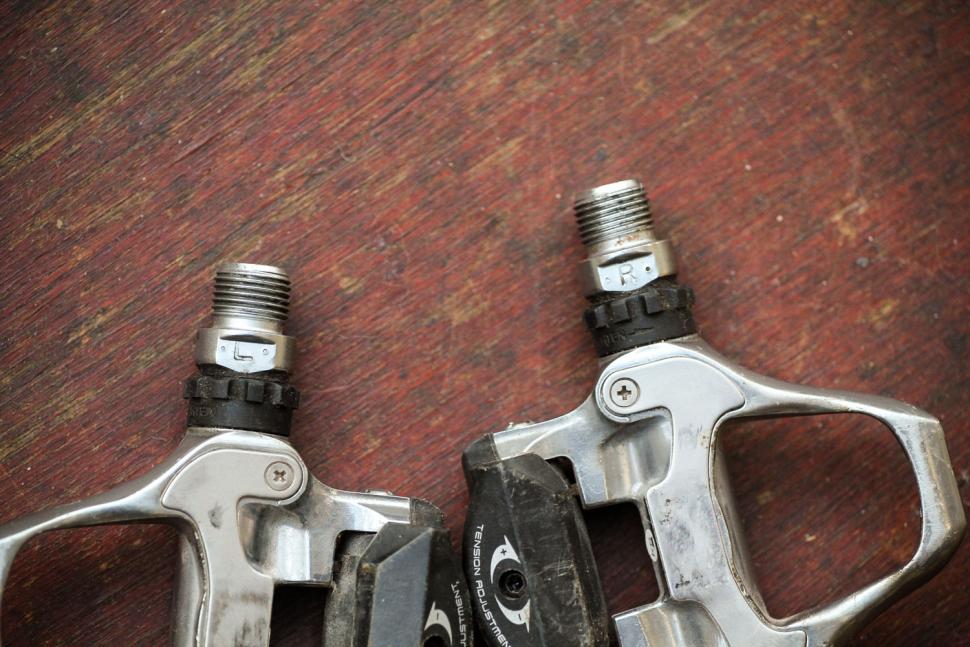
1. Pedals usually come marked L or R to indicate the thread and therefore the side of the bike they fit (viewed from the rider's perspective). The top image is a pair of Shimano 105 SPD-SL pedals with marks on the axles: L for left and R for right.
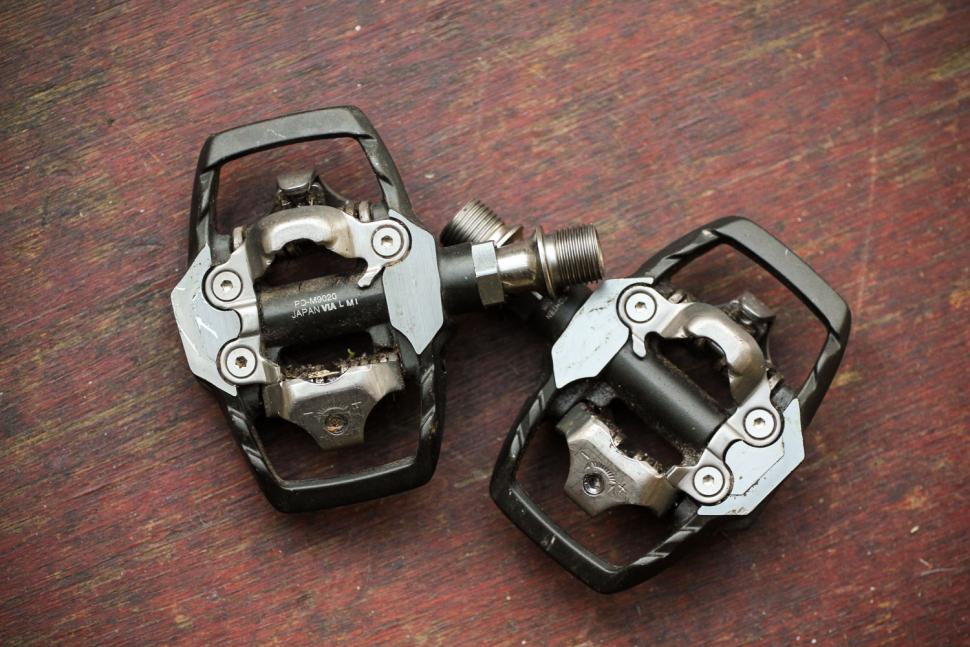
The lower image is a pair of Shimano XTR SPD pedals which don't have spanner flats, or L and R markings. Generally, with this type of pedal, the spring tension + and - markings on the adjustment plates should be at the rear of the pedal.
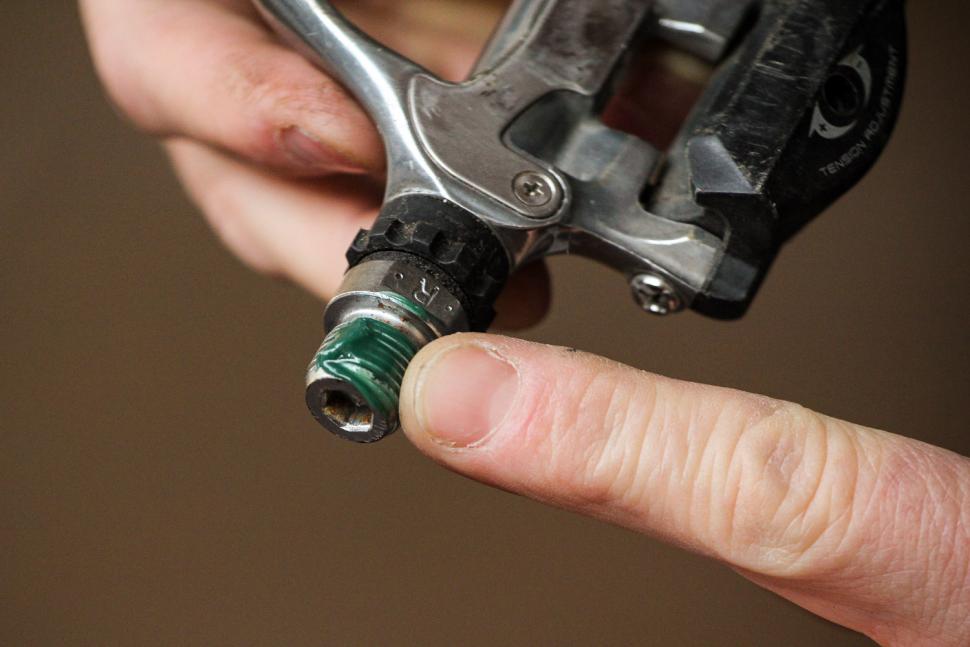
2. Grease the threads. This is vital; don't neglect it, however much of a hurry you're in. We've done that, then ridden the bike thousands of wet and gritty miles, only to find that the threaded union between axle and the crank arm has corroded solid. A thin layer of grease is all that's required and you'll avoid the nightmare of pedal threads that won't budge.
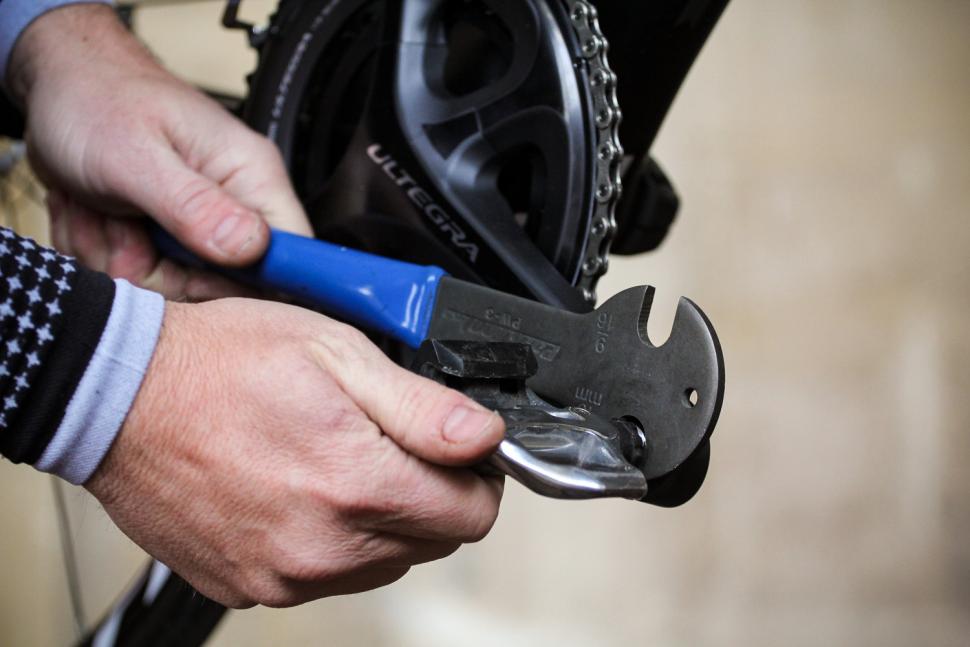
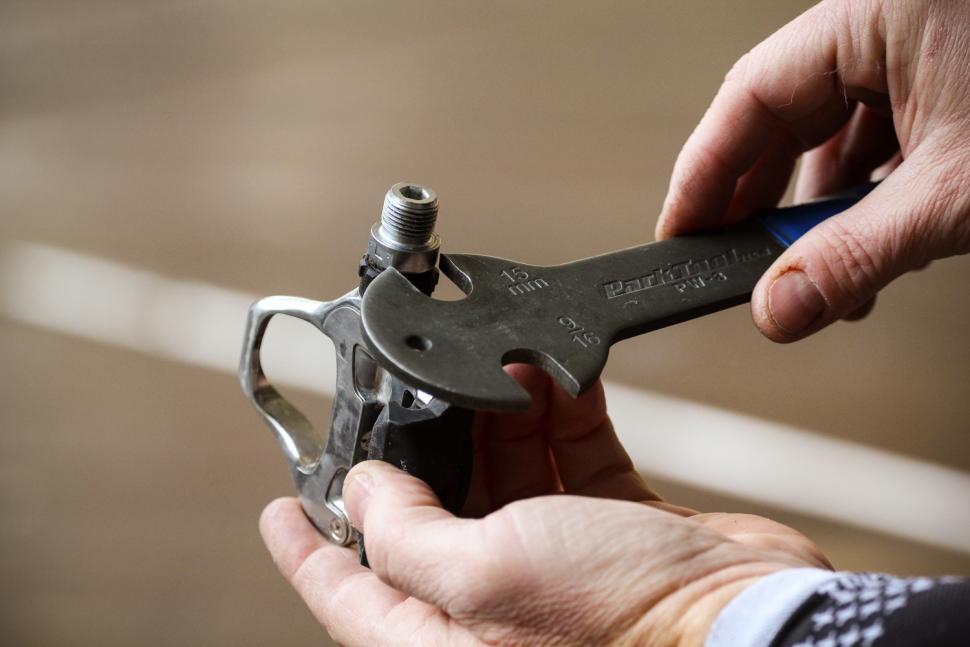
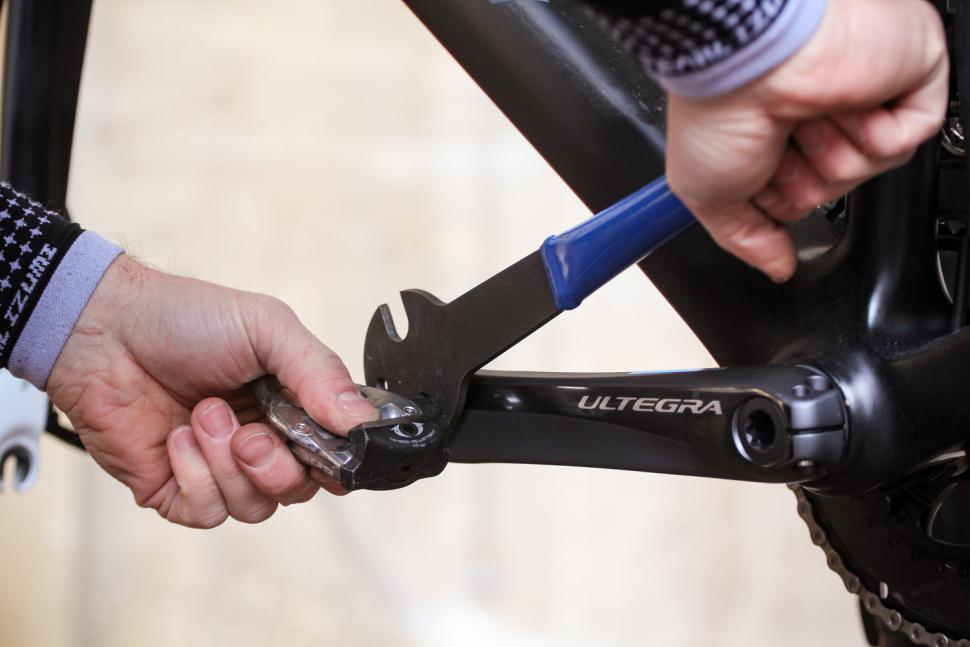
3. To tighten and remove pedals, the axles have either spanner flats, sockets for a hex key, or both. The flats on almost all modern pedals take a 15mm spanner, though many pedal spanners also have a 9/16-inch jaw for older pedals. Don't be tempted to use thin wheel cone bearing spanners, as they'll distort and be ruined.
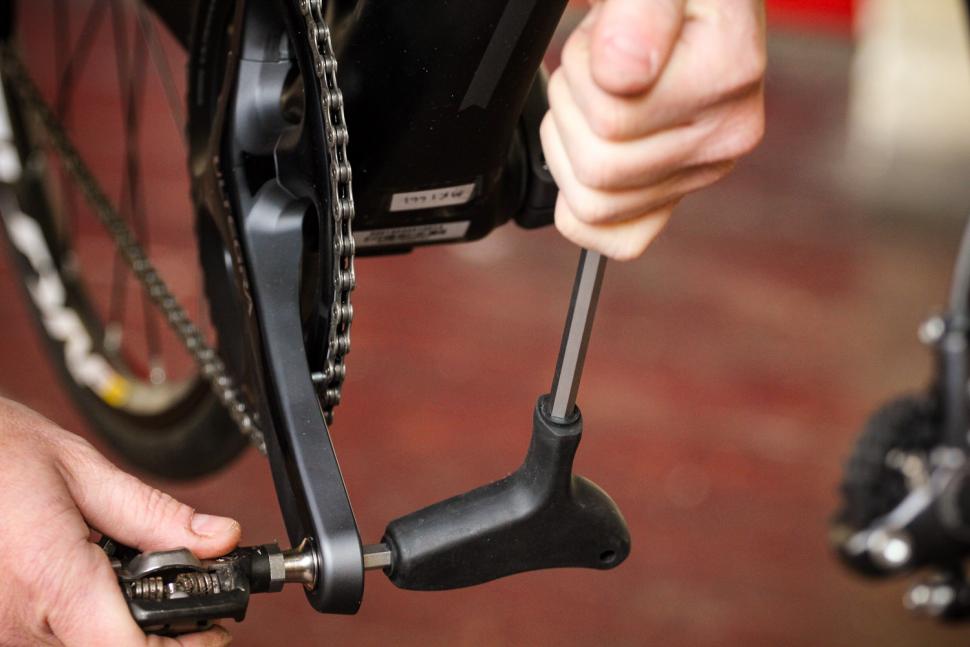
4. If there's a hex socket it will be 6mm or 8mm. Some pedals only have the hex socket. A hex socket is handy because you can remove or tighten the pedals with the hex key on a multi-tool; carrying a proper pedal spanner in your jersey pocket is a bit inconvenient.
Fitting pedals
5. As explained above, the left hand pedal has a left-handed thread so it tightens anti-clockwise.
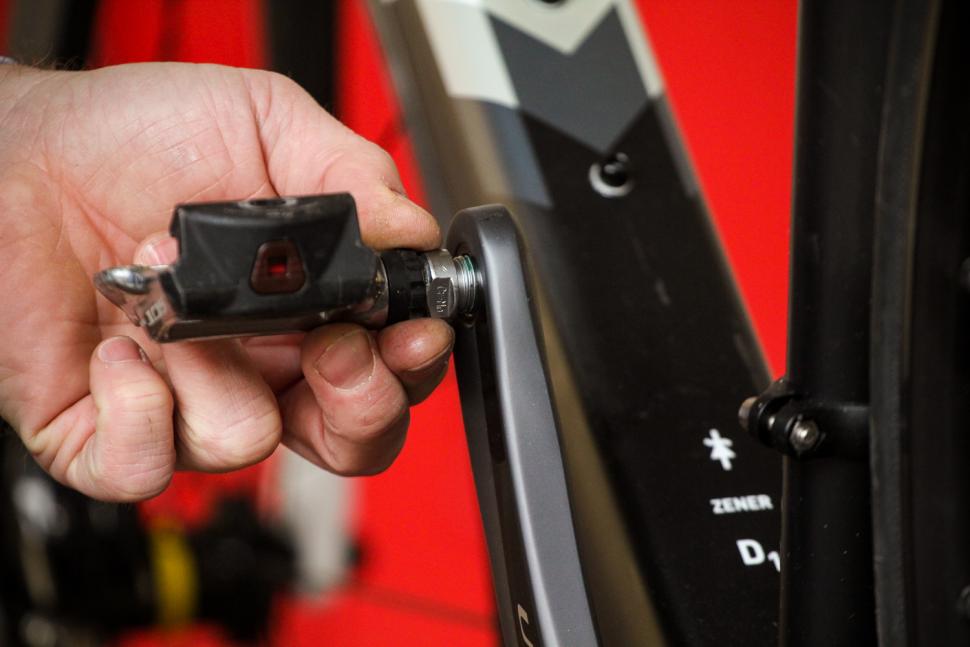
With the threads lightly greased, introduce the left pedal into the left hand crank arm's threads. Ensure they're square to each other and rotate the axle anti-clockwise until the first threads engage freely and easily. Screw the pedal into the crank. You should be able to turn it with your fingers, or with light pressure from a spanner or hex key. Do not force it. If you want to show off, hold the axle and rotate the crank clockwise to engage all the threads.
If the threads aren't brilliantly defined you might find the last few turns need a hex key or pedal spanner. Nip up the pedal thread into the crank arm to secure them. Don't go mad tightening pedals. They do not need more tightening than the average pocket multi-tool can deliver. The length of a pedal spanner is for removing badly installed, dry or corroded, pedals, NOT for doing up properly greased ones.
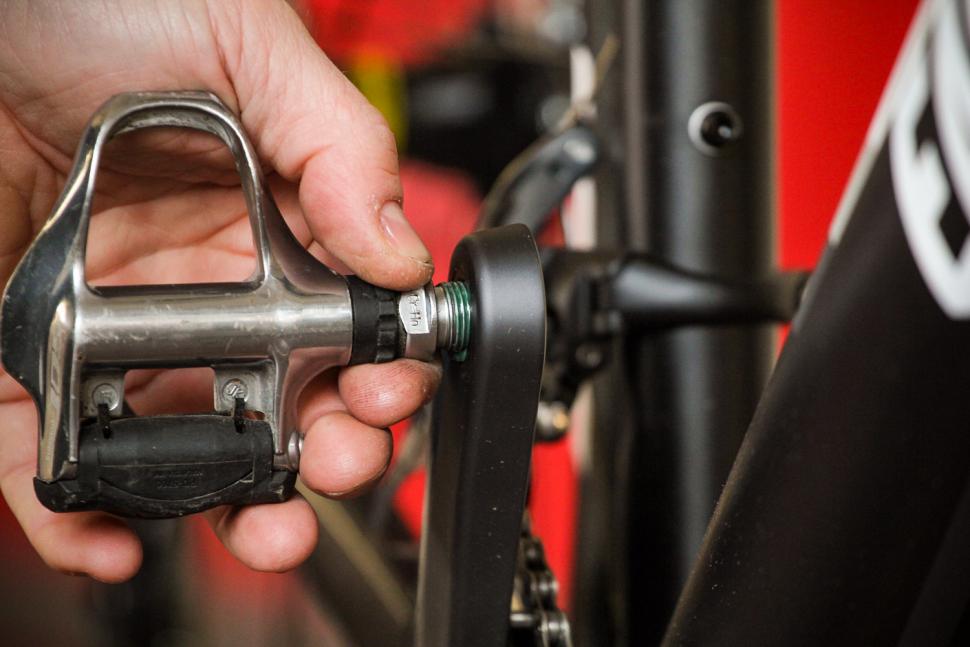
7. The right hand (drive-side) pedal tightens up by turning the axle clock-wise, so follow the same method, but turn the axle clockwise (or the crank anti-clockwise).
Removing pedals
This is the element of fitting and removing pedals where the added leverage of a pedal spanner of long Allen wrench can be of real use. The extra length, along wth some weight and shock force can help free stuck pedals. Of course, it's better to have prepped the threads with grease before you fitted them to avoid the hassle.
8. Usually pedals need a bit more leverage to get them out of the crank arms than they do to fit them. This is where a pedal spanner and/or an 8mm Allen key come in very handy.
9. For left hand pedals, bring the crank arm towards the front of the bike (9 o'clock as you look at it from the side) place the tool you're using on/in the axle (with the tool handle extending toward the rear of the bike) and press sharply downward on the handle to break the thread loose.
10. For right hand pedals follow the same process as with the left hand pedal. Position the crank pointing forwards towards the front wheel, slightly below horizontal to give your knuckles some space. When the tool is fitted to the pedal, its handle should be pointing towards the rear wheel.
Latest Comments
- marmotte27 1 sec ago
Helmet zealots' lack of logic and knowledge, as evidenced by your post I responded to, exasperate me I'm afraid.
- Rendel Harris 22 min 40 sec ago
Absolutely agree: "You'll be sure to make a statement with these brightly-coloured road shoes from Fizik" - the statement being "I have no taste...
- perce 57 min 14 sec ago
Well done to Nick for opening up and sharing his story. Much respect.
- pjclinch 58 min 20 sec ago
Anything shy of a watersports dry suit (and you don't want to ride a bike in one of those) will let in heavy, set-in rain, as identified typically...
- giff77 1 hour 2 min ago
Never ever experienced this.
- ktache 1 hour 6 min ago
But he doesn't seem to be a swivel eyed loon of the right. So no chance.
- stonojnr 1 hour 7 min ago
I'd argue its dishonest to claim it is greater, what happens in London doesnt automatically translate to how the rest of the country behaves on the...
- stonojnr 1 hour 10 min ago
They have their own forum for members, go check them out....
- chrisonabike 1 hour 16 min ago
I don't think this kind of "innovation" is a positive step for active travel. However, that's the way of the world. Who's going to buy "just...
- ktache 1 hour 17 min ago
Had a little look at the Fectr site. They do helmet reflectors that they claim will not harm "paintwork"

Add new comment
32 comments
Steel pedal thread, of course
Always start by hand first then use the wrench
Pages