- News
- Reviews
- Bikes
- Accessories
- Accessories - misc
- Computer mounts
- Bags
- Bar ends
- Bike bags & cases
- Bottle cages
- Bottles
- Cameras
- Car racks
- Child seats
- Computers
- Glasses
- GPS units
- Helmets
- Lights - front
- Lights - rear
- Lights - sets
- Locks
- Mirrors
- Mudguards
- Racks
- Pumps & CO2 inflators
- Puncture kits
- Reflectives
- Smart watches
- Stands and racks
- Trailers
- Clothing
- Components
- Bar tape & grips
- Bottom brackets
- Brake & gear cables
- Brake & STI levers
- Brake pads & spares
- Brakes
- Cassettes & freewheels
- Chains
- Chainsets & chainrings
- Derailleurs - front
- Derailleurs - rear
- Forks
- Gear levers & shifters
- Groupsets
- Handlebars & extensions
- Headsets
- Hubs
- Inner tubes
- Pedals
- Quick releases & skewers
- Saddles
- Seatposts
- Stems
- Wheels
- Tyres
- Health, fitness and nutrition
- Tools and workshop
- Miscellaneous
- Buyers Guides
- Features
- Forum
- Recommends
- Podcast
 Tubolito
The expert's guide to fitting your tyres and tubes perfectly — essential tips and advice from lightweight inner tube innovators Tubolito

This article includes paid promotion on behalf of Tubolito
Austrian brand Tubolito is best known for being an innovator. It was the first brand to develop and manufacture inner tubes made from TPU – thermoplastic polyurethane – making use of that material’s superior weight, size and strength characteristics. As we saw recently, Tubolito is also possibly the first inner tube manufacturer to offer its own inner tube recycling service.
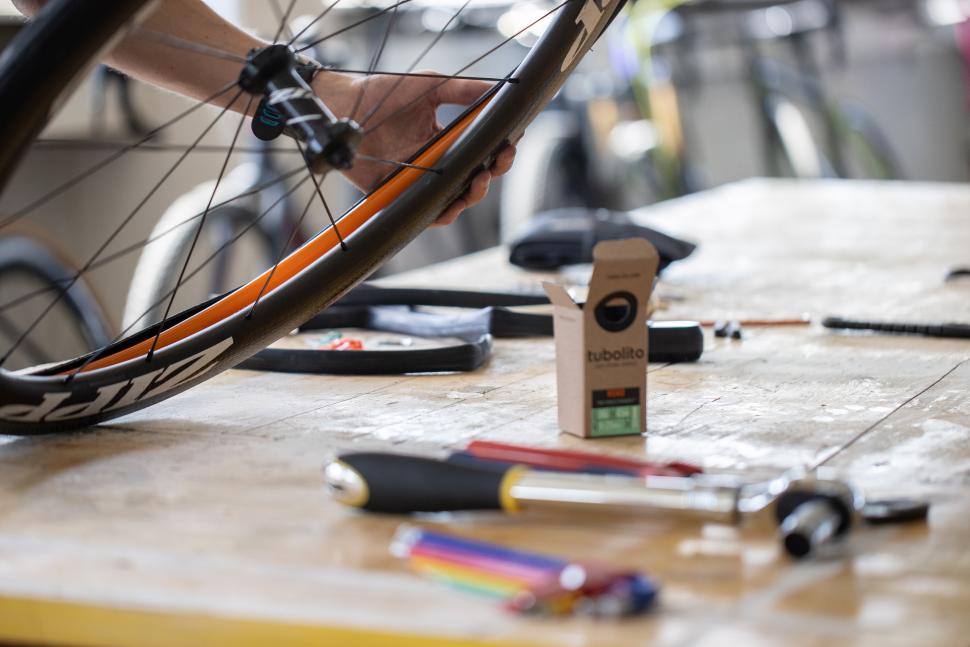
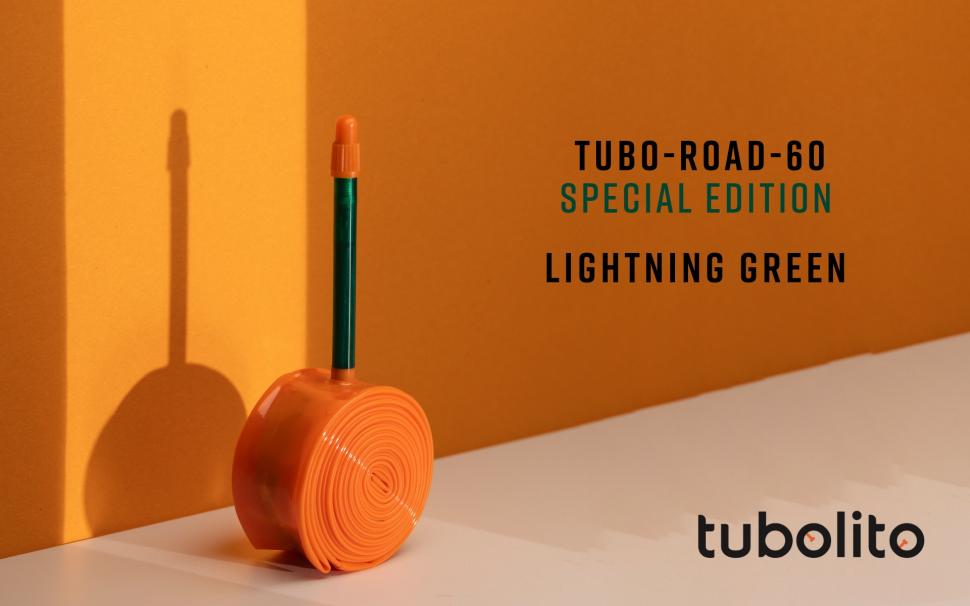
But the team at Tubolito are experienced cyclists who know all about the basics, too. So, to tie in with the release of Tubolito’s exciting new special edition tubes with Lightning Green valves, we sat down for a chat with Tubolito’s Lukas Knoll – formerly an experienced bike shop mechanic – and asked about some of the little things that will make installing your next inner tube a little easier.
RCC: First of all, let’s talk about Tubolito’s new special edition Lightning Green valves – they look great fun but do they offer any practical benefit?
LK: I’ll be honest, they don’t offer any performance benefits but one thing both they and our standard bright orange valves do is make it easier to find them when you need to put some air in your tyres. It might seem a small point, but anything that helps you locate your valve quickly is usually welcomed by riders.
That’s quite true. Is there anything else riders can do to make it easier to locate the valve or even things like information on the tyre sidewall?
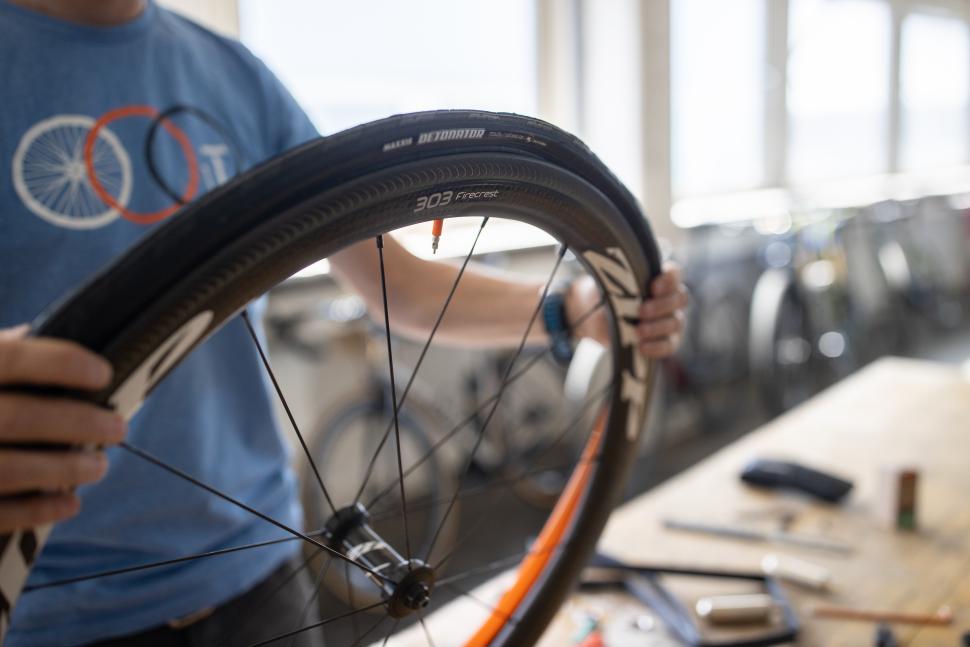
For aesthetic reasons and practical reasons, some people like to line up the branding on their tyre walls with the valve to make it easier to locate. However, I actually prefer to line up the tyre pressure recommendations on the sidewall with the valve. Because it can be difficult to find that information, especially in dark conditions, I find that’s far more useful, particularly for people who don’t use their bike that much and can’t remember how much air should be in the tyres. Experienced road cyclists probably won’t need that – they’d prefer to have the branding lined up and the wheel and tyre looking nice.
Let’s get back to fundamentals – if you’re replacing your inner tube, how do you make sure you replace it with the right product?
You need to use that same information on the tyre sidewall. When you know the wheel size and wheel rim width, you can then buy the correct inner tube to fit.
But don’t forget to also measure your wheel rim depth to make sure you buy inner tubes with the right valve length – too short and you won’t be able to inflate the tyre. We usually say that you should add 15mm to the rim height to get the minimum valve length needed to ensure that all pumps will hold on to the valve. For example, a 27mm-deep rim should have a 42mm valve; a 45mm-deep rim should have a 60mm valve. Once you have that information, you can order suitable Tubolito tubes here. [Use promo code 'roadcc20' for 20% off your order. Offer expires August 11, 2024.]
That’s an interesting point that sometimes people forget. Is there anything else about the rims themselves that people need to think about when it comes to changing tyres or replacing inner tubes?
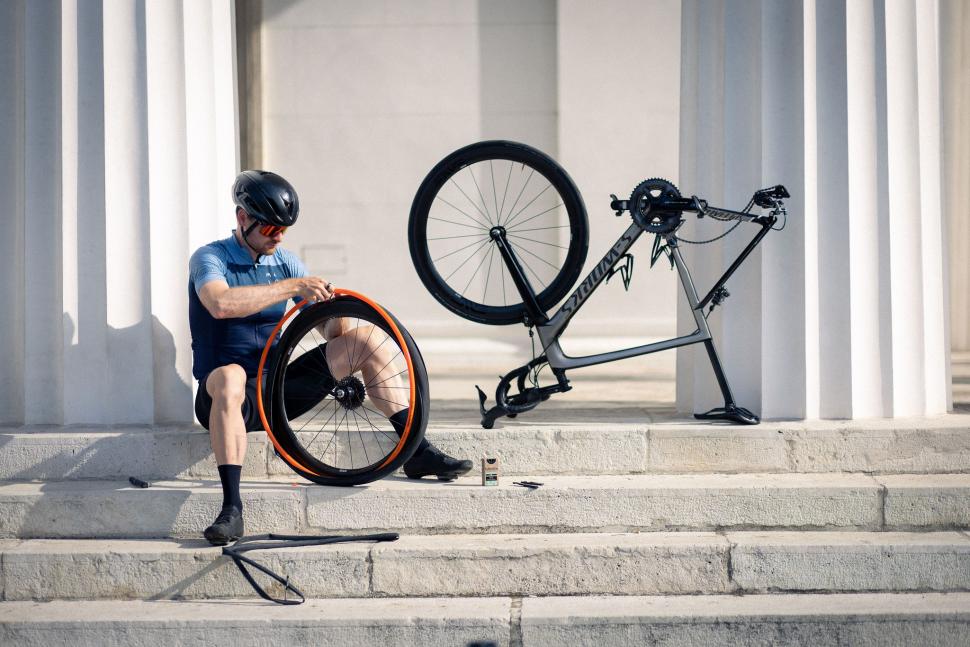
One thing that people with carbon wheel rims have to take into account is, with carbon rims it’s highly recommended that you don’t use tyre levers. Actually, in general, it’s good not to use tyre levers because they can damage the tube, the tyre or the rim. That’s also an important consideration if you are using rim brakes where the braking surface can eventually get thinner over time.
For riders who do want or need to use tyre levers, what advice would you have?
If you have to use tyre levers, plastic is definitely better than metal, especially if they are in your saddlebag tyre repair kit. Metal tyre levers might be OK when used in workshop conditions when you can take your time but, in a rush, on the side of the road, plastic is better. Plastic tyre levers are lighter, too.
So if you don’t use tyre levers, do you have any tips for getting tough tyres unseated from the rim?
I often start on the opposite side of the wheel from the valve and start pressing the tyre bead into the rim. I slowly go all the way round to the opposite side, really pressing the tyre bead together and pushing it into the lowest part of the rim. That should then give you enough play to pull the tyre bead over the rim. If you still find it difficult, grab the tyre and rims super firmly with both hands and twist the tyre – like you would twist a motorbike throttle – to lever it over the rim.
So we’ve got the tyre unseated from the rim and the old inner tube has been removed, what’s next?
When fitting your new inner tube, it eases the process to put just a little air in the tube before you fit it – no more than 0.5bar or 7psi. When you do this, make sure the valve is pointing inwards and the tube is in the form or shape it will be when it’s mounted. This helps to settle the tube nicely into the tyre and keep it straight. Having the inner tube pre-shaped correctly like this reduces the likelihood of it getting trapped between tyre and rim when it is installed.
What we’re talking about there is avoiding an instant pinch flat – do you have any advice on how to avoid pinch flats in more general use?
Pinch flats are essentially a cut in the inner tube where the rim has sliced into the tube. We can avoid this by using the right tyre pressure. If you use too low a tyre pressure, it definitely increases the possibility of having a pinch flats.
With gravel riding and tubeless tyre technology, people seem very excited by the idea of low tyre pressures, but in the old days it was largely a case of the higher the tyre pressure, the better.
I’m still that guy! I totally understand the benefits of softer tyres for smoothing out rough terrain, but I personally don’t like the feeling because I want my ride experience to be fast and reactive. Of course, you have to take into account the surfaces you will be riding on, though. So it’s a question of adjusting your tyre pressures to suit the specific conditions of your ride.
We talked about getting tough tyres off the rim, what about the opposite problem? If you’re fitting a new tyre, how do you make sure it is seated nicely in the rim all the way round?
The tyre will always have a small indication line, low down on the sidewall, to give you a visual clue about how well it is seated. However, you’ll probably find you don’t need to check that if you’re using a good tyre. I always start by inserting one side of the tyre into the rim, then I put in the inner tube, then I close the other side. Usually, with a good quality tyre, you’ll find it’s all usually in its position.
Finally, Tubolito makes high-quality inner tubes not tyres but, generally speaking, how important is it to use good tyres?
The crucial thing is to remember that your tyres are the only things that connect your bicycle to the road, so low-quality tyres can cause huge problems. I always recommend people use mid to high-quality tyres – their performance is good and you’ll also probably find that things like fitting and removing them are much more straightforward because they are so well manufactured.
To see Tubolito’s innovative range of ultra-lightweight, ultra-compact and ultra-tough TPU inner tubes – including the new Lightning Green valves options – visit tubolito.com and remember to use promo code 'roadcc20' for 20% off your order. (Offer expires August 11, 2024.)
Latest Comments
- RoubaixCube 0 sec ago
I like how youre using a Mojito X to advertise an Mojito 3
- Basemetal 20 min 49 sec ago
The PU dip on the palm and fingers is over the knitted nylon so not chilly in use, and the material is thick enough to provide some cushioning. It...
- hawkinspeter 24 min 46 sec ago
Opinion piece on B24/7. I found it a bit placatory towards the people against LTNs, but then I'm just sick of motornormativity driving city and...
- Geoff H 35 min 15 sec ago
“jumped-up, arrogant” cyclists motorists causing “carnage” and posing a risk to pedestrians everyone else. Fixed it ..........
- chrisonabike 45 min 31 sec ago
Given that - at least in UK- we have a mostly flip-flop political system and parties in power eventually run out of credit with the electorate -...
- OldRidgeback 1 hour 48 min ago
If he'd been able to get hold of one of the rarer five speeds, it would've had a better choice of ratios. You can see it's got proper brakes, a big...
- David9694 1 hour 58 min ago
But whAT aboUT thE disable d? (Foreground left - pretty faded)
- belugabob 2 hours 6 min ago
If that's their bag...
Add new comment
13 comments
I had a real issue getting my Maxxis Re-Fuse tires seated - has anyone else tried a swipe of car wax or similar on the rim prior to inflating?
Starting to use schwlabes soapy stuff to get my tubeless on the rims especially when new and very sticky, but my tubed always went on better with lots of talc, meant to reduce rolling resistance too, and makes removing the tubes later easier.
If I think that the rim/tyre combo is going to be quite tight/sticky, then I just use a bit of washing up liquid and water on the tyre bead/edge. I've used proper tubeless stuff in the past, but some soapy water does the trick too and is usually easier to find.
I had the opposite problem at the weekend - seating some tubeless MTB tyres on non-tubeless wheels. The answer was to just use more tubeless rim tape to make the fit a bit tighter and thus hold pressure long enough to inflate.
Another tubeless tip is to use a small o-ring on the valve on the inside of the rim to make a better seal.
Edit: I see you already mentioned the soapy water tip
I have a set of clincher wheels where the bed was made, I suspect, for tubulars. There's just a gentle curvature to the bed. Getting tyres on to these wheels is an _absolute_ bastard - especially new tyres. There's no real well to the bed to give some wiggle room to get some slack on the bead on the other side.
If ever there's a tyre-fitting olympics for pro mechanics, my wheels + brand new Vittoria Corsas should be the final challenge. First one to get that on, if anyone does, gets the gold medal!
There'd need to be a generous time limit....
The rims if made for tubulars will not work with clinchers.
Today I learned that you're not supposed to use tyre levers with carbon rims!
However, I'm going to completely disregard that and carry on using plastic tyre levers for mounting/unmounting tyres (at least with tubeless, there's no inner tube to mangle with the lever).
There is absolutely no way that I could have fitted the tubeless-ready tyres on my carbon wheels without levers. I've fitted many tyres over the years without issue, but with this new-to-me wheel and tyre combo I could not even get the tyre off without two levers let alone back on!
I take the view that if the rim isn't strong enough to cope with my usual clumsy tyre levering, then it's not going to cope with my riding. I would hesitate before using metal tyre levers though.
I have some Vredestein Fortezza tyres, one of which I cannot get seated properly, no matter what I do; there is a 'dip' in the tyre's rotation, meaning an annoying feeling like riding over a ridged road.
I'm reluctant to remove it as it was a total nightmare to mount on the rim!
i really *&%$ing hate this sort of "ad as an article" crap.
It would be of more use to have some real world tips on fitting tubolito tubes in particular. I love the concept but have not got on with them- i find them super slippery and very difficult to fit compared to butyl.
Fortunately a hint is provided so that you can choose whether to read or not.
I like TPU, maybe because I've found green ones on Aliexpress for 5 €, and also they are much lighter, of course. But I have to admit that since I switched from butyl this year, I have already pinched 3 of them while mounting new tyres... These are tubeless tyres, so it doesn't help to fit them, but that's more pinches that I had in decades of fitting butyl's!
And the repair kits (small piece of tape) hold at best a few hours, the next day they were all flat.
I have heard about using sealant (ie for tubeless tyres but in the TPU tubes) and butyl repair kits on TPU, but I have to try any of these tricks.
Have you tried deflating and lubricating the bead with talc or diluted washing up liquid and pumping up to a few psi above the recommended, hopefully once seated correctly letting a bit of air out?
I once had some conti grand prix 26 inch thet were a nightmare to fit, lbs suggested the washing up liquid thing which helped, but the dip gave me reduced feeling in my little fingers. Crap pump, dad's cheapness loving black bush market car foot pump.