- News
- Reviews
- Bikes
- Components
- Bar tape & grips
- Bottom brackets
- Brake & gear cables
- Brake & STI levers
- Brake pads & spares
- Brakes
- Cassettes & freewheels
- Chains
- Chainsets & chainrings
- Derailleurs - front
- Derailleurs - rear
- Forks
- Gear levers & shifters
- Groupsets
- Handlebars & extensions
- Headsets
- Hubs
- Inner tubes
- Pedals
- Quick releases & skewers
- Saddles
- Seatposts
- Stems
- Wheels
- Tyres
- Tubeless valves
- Accessories
- Accessories - misc
- Computer mounts
- Bags
- Bar ends
- Bike bags & cases
- Bottle cages
- Bottles
- Cameras
- Car racks
- Child seats
- Computers
- Glasses
- GPS units
- Helmets
- Lights - front
- Lights - rear
- Lights - sets
- Locks
- Mirrors
- Mudguards
- Racks
- Pumps & CO2 inflators
- Puncture kits
- Reflectives
- Smart watches
- Stands and racks
- Trailers
- Clothing
- Health, fitness and nutrition
- Tools and workshop
- Miscellaneous
- Buyers Guides
- Features
- Forum
- Recommends
- Podcast
 How to fit a Chris King bottom bracket 09
How to fit a Chris King Press Fit bottom bracket
One of the biggest changes for frames in the last decade has been the move towards unthreaded bottom bracket shells. The move was as much to make the process of of frame production simpler and cheaper as it was to offer the end user benefits like stiffer, lighter bottom bracket axles with the Cannondale BB30 system. This style of bottom bracket is referred to as PressFit or PF30. There are a number of other versions for different threadless bottom bracket shell specifications, though they all install the same way. Here's how.
Our guide below shows you what we believe is the best method to fit a Pressfit (BB30) bottom bracket. We've included a list of the tools and materials that you will need to complete the job and in some cases where you can buy them. If there are others that you prefer then feel free to let everybody know in the comments.
Tools & Materials
Threadless bottom bracket shells are nothing new in cycling, though until a few years ago they were only found on BMX bikes. Cannondale developed the BB30 30mm crank axle design and offered it to the cycling industry as an open source technology for mid to high end frames. The design promises quicker, easier fitting, wth no delicate fine pitch threads in the bottom bracket shell to damage or cross thread.
For a home mechanic, the reality is that it is easy to fit a press fit bottom bracket: it takes less than ten minutes but it's easier than fitting a threaded bottom bracket. You still have to follow procedure and take care not get the cups presented at an angle to the bottom bracket shell.
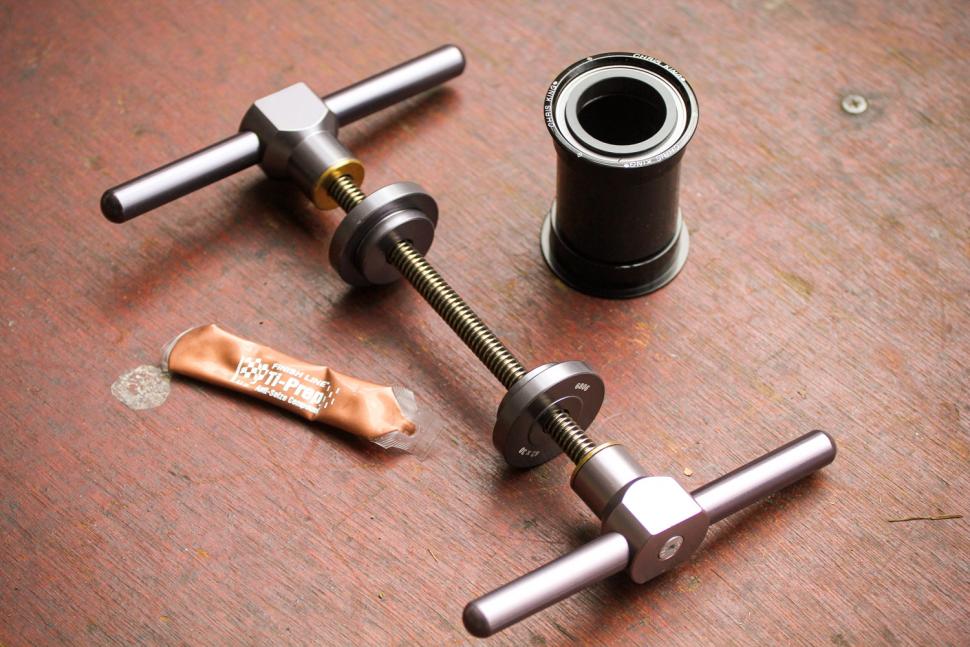
You'll still need some specialist tools, too; a bearing press is pretty much essential. Sure, pieces of soft wood and mallet can get the job done, but it's ugly and doesn't deliver the control required to guarantee a perfect fit. A good press can do both bottom bracket and headset, so if you're a keen home mechanic, the cost can be worth bearing.
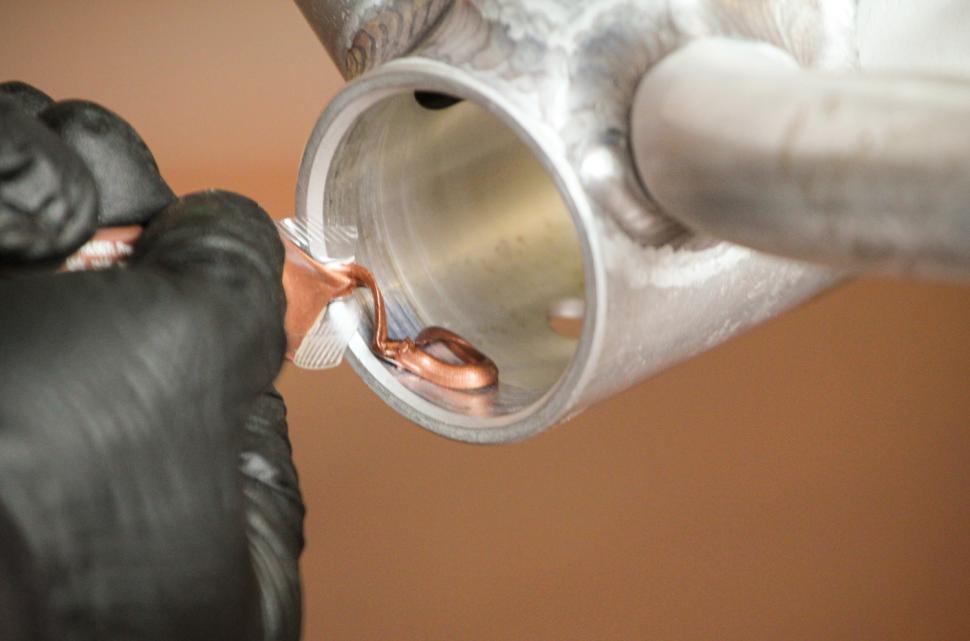
1 Prepare the bottom bracket shell. As with any bottom bracket installation the most important part is the preparation. Making sure the bottom bracket shell is perfectly round and because the BB30 specification is without threads, the inside surface must be smooth and free from burrs, swarf or in the case of carbon frames, excess resin or lacquer. If in doubt about your bottom bracket shell's readiness for action, consult your local bke shop who will be able to check it in their workshop. We're adding a layer of copper based anti-seize by Finish Line. This helps guard against metal to metal corrosion and cold welding.
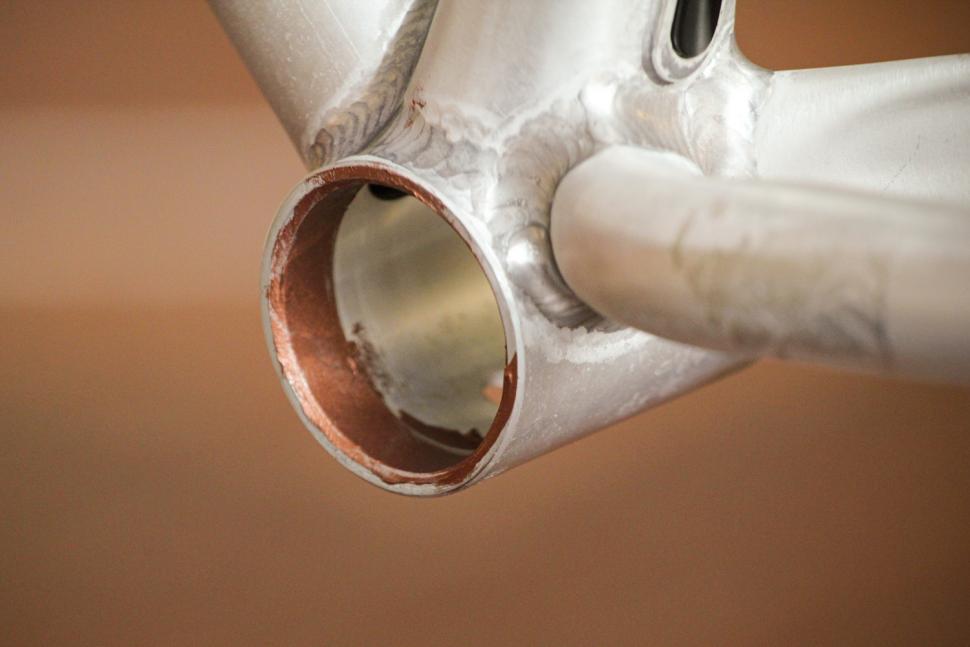
2 Ready to fit. Give the bottom bracket shell an even coat. About three quarters of an inch into the shell should be about right for most bottom bracket cups.
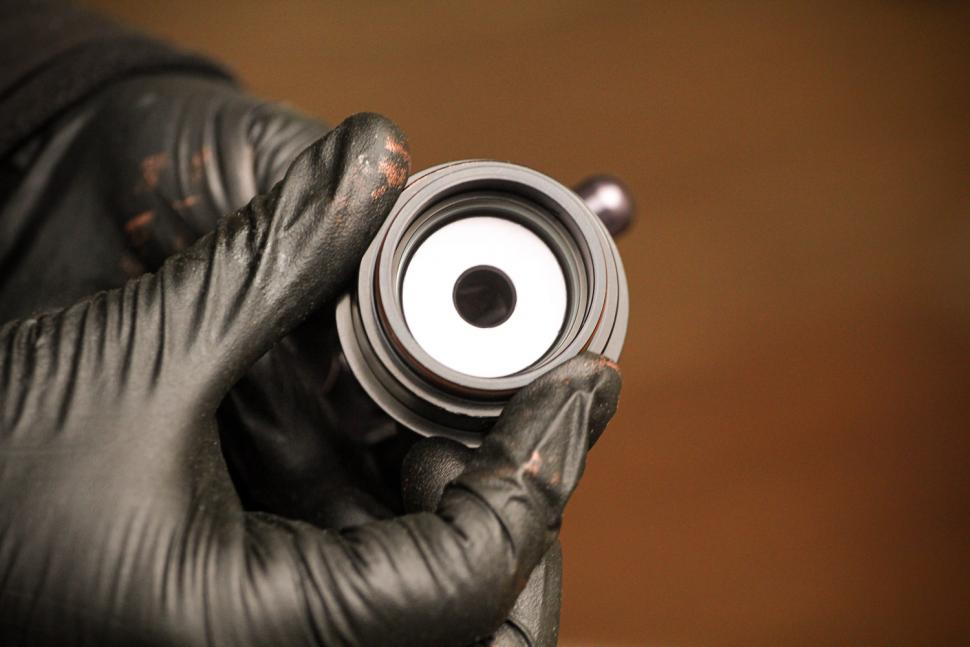
3 Check to see that you have the correct size circular drift for your press. Here you can see the reverse (inner) side of the cup and bearing (the black ring), with the step sided drift seated on the bearing lip.
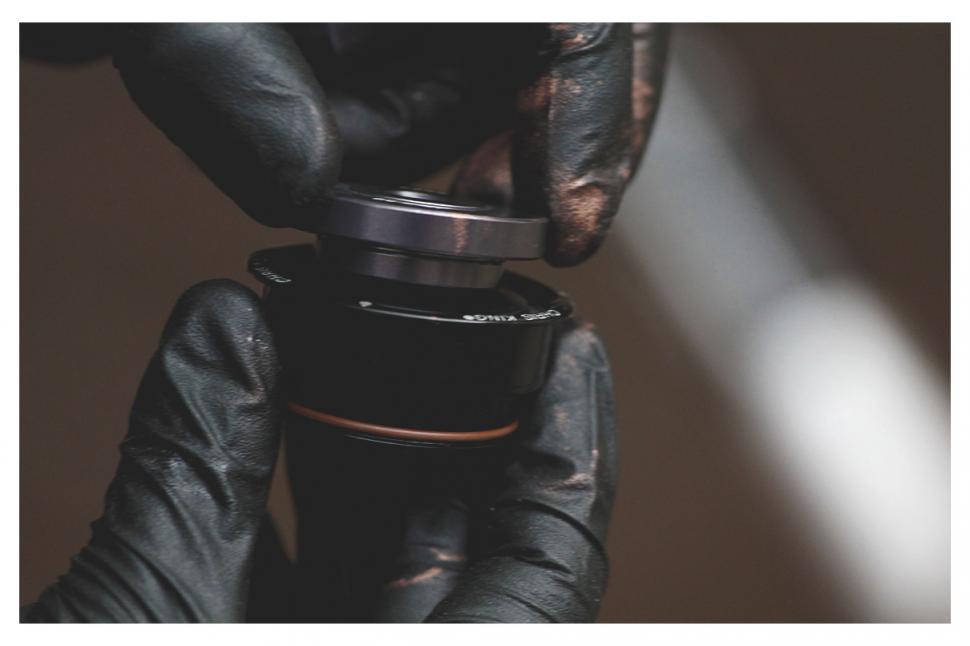
4 Another view, showing the circular bearing drift being dropped into position in the outer face of the PressFit cup. It should just drop in. Occasionally it might need a finger pressure to seat it.
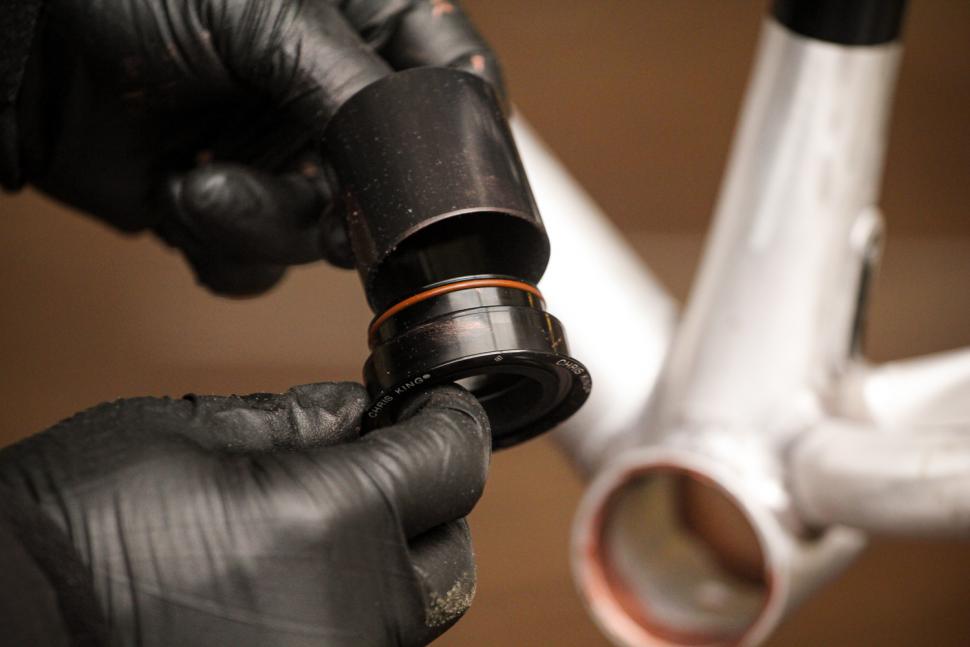
5 We're fitting a Chris King PressFit bottom bracket. These follow the same size and shape as any other BB30 cups. Chris King does recommend that their alloy bearing sleeve is used. It's a simple push fit onto either of the cups. The orange O-ring holds it in position.
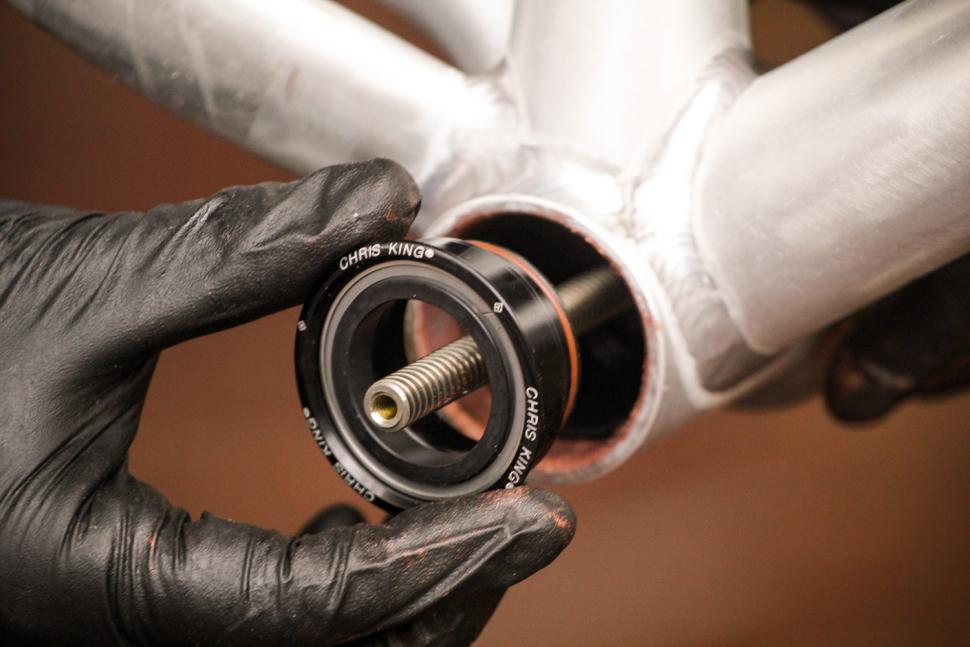
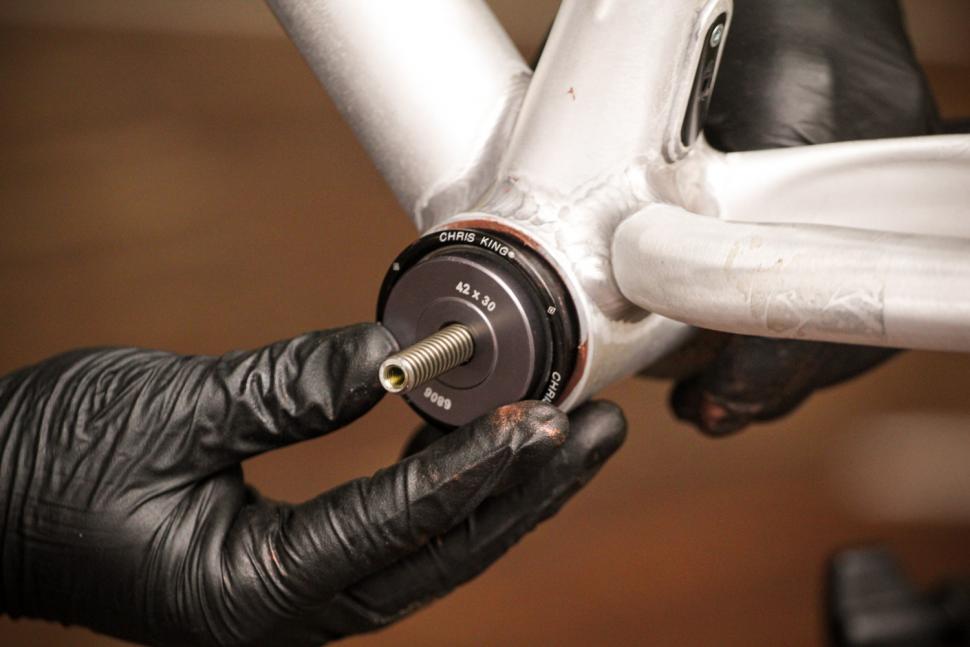
6 Position the bearing cup. There is no left and right cups with BB30 as there are no threads. With the installation press tool in position from the opposite side and the threaded shaft through the centre of the shell, bring the first bearing in and over the threaded end of the press shaft. The first millimetres of the cup's leading edge should slide into the bottom bracket shell without the use of the tool.
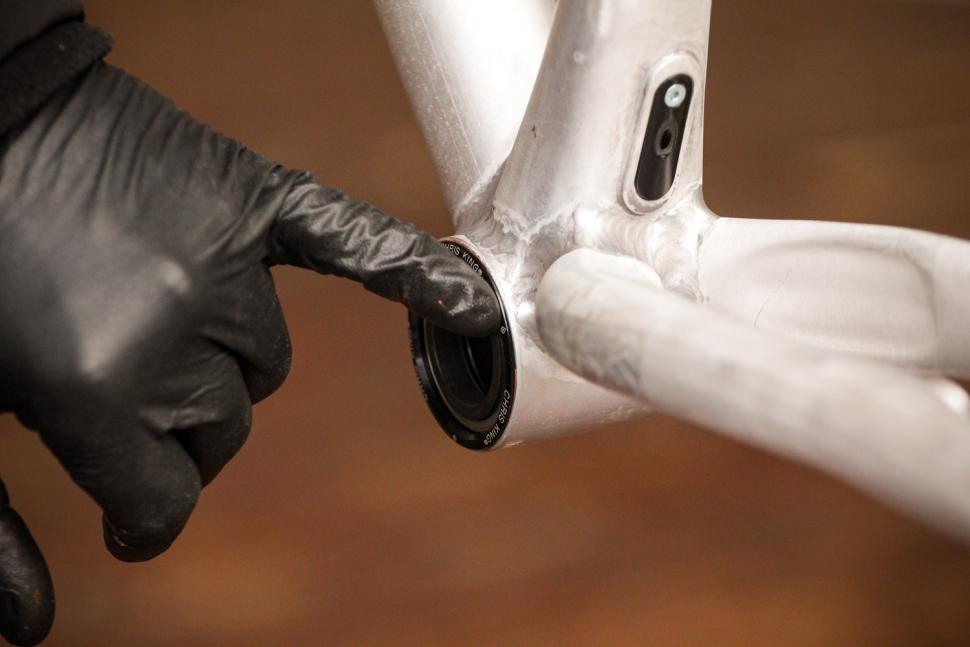
7 the bearing going in. We've slid the press tool back through the shell for clarity to show how much of the cup fits with finger pressure. Why not just push it straight in with the tool? Sometimes the cup and the shell need to find their initial position to ensure as straight a fit into the bottom bracket shell as possible. If it's really off it makes fitting difficult and runs the risk of permanently damaging the frame's bottom bracket shell and the bottom bracket itself. With fingers you have more control and feel to squarely align the cup into the shell. This one is OK, if a fraction over on the top of the cup.
8 With the cup presented and ready to be pressed home, slide the bearing drift onto the threaded press shaft. Make sure it's seated squarely.
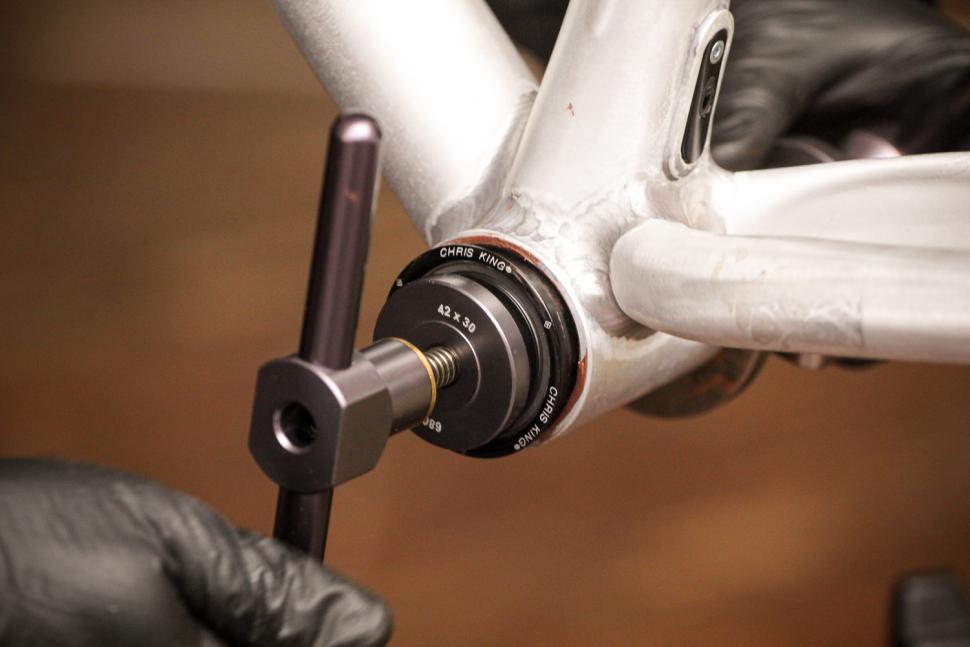
9 Spin the handle on to the threaded press tool shaft. As it closes up on the face of the bearing drift give the cup a final visual check to ensure it has remained squarely located in the bottom bracket shell. Keep turning the handle and you will feel the cup sliding into position. It can feel quite tight, this is quite normal (its actually a good thing, we don't want sloppy fitting cups as they cause noise, misalignment and premature bearing wear). When it reaches the point where the cup feels fully home, stop and remove the tool.
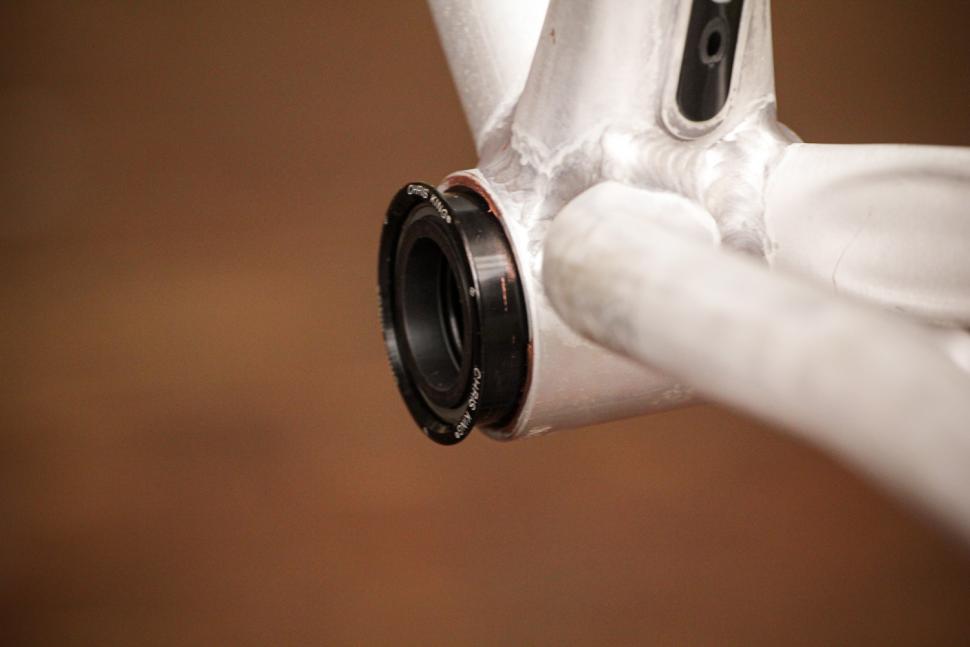
10 The cup in place. With the tool carefully removed from the bottom bracket shell you should be left with the bearing cup installed like this one. Only the lip of the cup is exposed and there are no gaps between the back of the lip and the face of the frames bottom bracket shell.
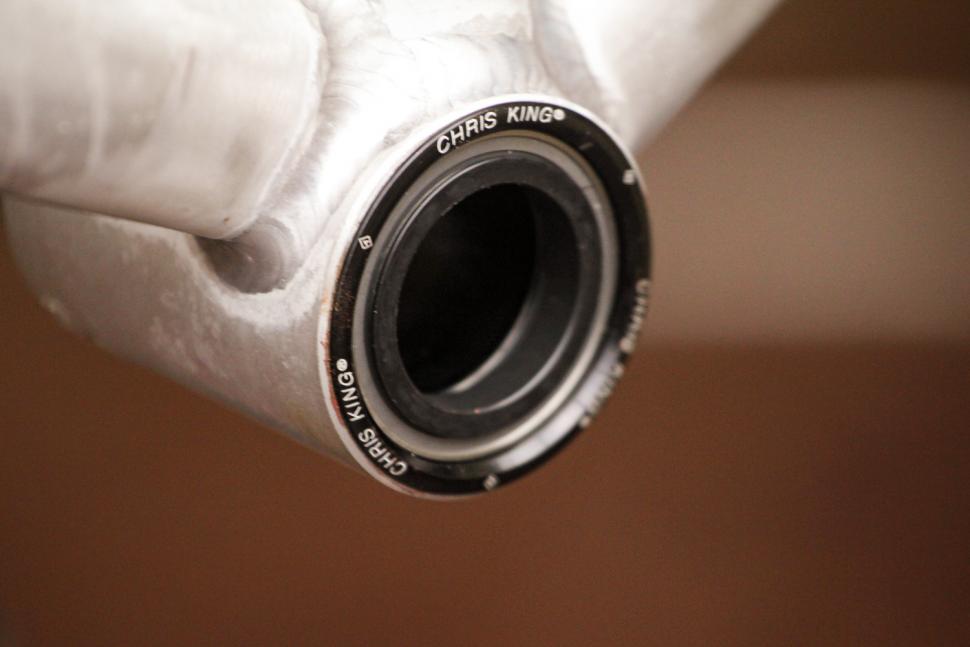
11 This side of the bearing is fitted and ready. The second side of the PressFit bottom bracket install is the same process you've just done, repeated on the other side of the bottom bracket shell. Just remember to use the same size bearing drift in the static end of the press tool to keep it centered in the cup you've already fitted.
>> Read more: The full archive of road.cc maintenance features
Latest Comments
- Steve K 51 min 59 sec ago
A very good family friend had worked at the Department of Transport. He told me when I had that car, that they'd done a study at one stage about...
- chrisonabike 1 hour 9 min ago
And the next time - plead sympathy for your addiction, caused by trauma from your previous "accident"...
- wtjs 1 hour 12 min ago
Butyric Acid... was the most disgusting thing I have ever smelt in the lab...
- ubercurmudgeon 1 hour 43 min ago
Even a stopped clock, etc, etc...
- Bigtwin 3 hours 4 min ago
I wouldn't be meeting that Orange Pillock anywhere, let alone 1/2 way.
- Laz 3 hours 20 min ago
If the local police is unwilling or unable to do their job properly, then perhaps her insurance provider ought to re-evaluate the risks she poses...
- Martin1857 14 hours 14 min ago
As a member of the Co-op community (I live in a Housing Co-op) and a bike owner /rider, this is very sad news. We need more Co-ops not less.
- Dnnnnnn 14 hours 5 min ago
It is sad for the individuals concerned but (and this is a general point, rather than specific to this story), we're much better off overall for...
- David9694 15 hours 1 min ago
Lorry carrying 25 tonnes of beer catches fire on the M11...
Add new comment
13 comments
If you're unfortunate enough to possess a frame that takes a press-fit BB, I suggest getting one of the BBs where the two halves screw together, such as the ones that Wheels Manufacturing make. You don't need either a bearing press or removal tool, just a normal BB tool such as the Park BBT-9 or BBT-29, and having the two halves thread together means that the two sides of the BB stay aligned.
Interesting article title - Chris King stopped making press fit BBs around 3 years ago.
Yeah, about 2 years after they first pushed out this article. Next week it's rod brakes, maintenance and adjustment.
I'm looking forward to removal & refit of these new fangled cotter pins.
What complete freaking idiot of a designer decided to put a press fit BB in an aluminium frame??? Complete and utter twazzock.
Most of them?
Shouldn't this just be called "How to fit a
Chris KingPress Fit bottom bracket"? I know this one happens to be CK, but the article reads like it's not CK specific.Hmmm...the welding on that frame suggests that the BB may quadruple its value...
Is it easier than fitting a threaded bottom bracket?
As long as you have the sides right and you get the correct threads going the proper way, fingers first to prevent cross threading, then the spanner. I suppose it might take a few minutes more.
Then my big question, removal?
Agree on both points.
I've fitted loads of screw-fit BBs on both road and mountain bikes and you only need a single tool (per type) to install/remove them (notwithstanding working out the number of spacers required by some, but the manual will tell you that anyway), so by definition press fit must be harder, as you need a specialist press (and removal tool - more later) and you need to watch both sides at the same time.
Also, no mention of how to get the old one out, if you're replacing one.
Secondly, no mention of the specific need to check the BB shell is properly faced, or how to do it - which I'm lead to believe is especially critical for these BBs to get them seated proerly and avoid creaking.
That "specialist press" will be useful for installing bearings in hundreds of other machines. A HT2 BB wrench, now that's specialist.
"the cost can be worth bearing"
To me the article seems to imply that Pressfit 30 (PF30) and BB30 bottom brackets are the same thing which isn't true. In BB30 bottom brackets the bearings are pressed directly into the bottom bracket shell until they press against circlips. Plastic / alloy cups housing the bearings is the distinguishing feature of PF30 bbs.
Also, I think in any article about installing a PF30 bottom bracket it is worth explaining the different type of glues / greases used to prep the bottom bracket area depending on the combinations of frame and bottom bracket cup materials. Installing this Chris King bb in to a carbon frame would require either grease or a glue (loctite or possibly some kind of an epoxy).