- News
- Reviews
- Bikes
- Components
- Bar tape & grips
- Bottom brackets
- Brake & gear cables
- Brake & STI levers
- Brake pads & spares
- Brakes
- Cassettes & freewheels
- Chains
- Chainsets & chainrings
- Derailleurs - front
- Derailleurs - rear
- Forks
- Gear levers & shifters
- Groupsets
- Handlebars & extensions
- Headsets
- Hubs
- Inner tubes
- Pedals
- Quick releases & skewers
- Saddles
- Seatposts
- Stems
- Wheels
- Tyres
- Tubeless valves
- Accessories
- Accessories - misc
- Computer mounts
- Bags
- Bar ends
- Bike bags & cases
- Bottle cages
- Bottles
- Cameras
- Car racks
- Child seats
- Computers
- Glasses
- GPS units
- Helmets
- Lights - front
- Lights - rear
- Lights - sets
- Locks
- Mirrors
- Mudguards
- Racks
- Pumps & CO2 inflators
- Puncture kits
- Reflectives
- Smart watches
- Stands and racks
- Trailers
- Clothing
- Health, fitness and nutrition
- Tools and workshop
- Miscellaneous
- Buyers Guides
- Features
- Forum
- Recommends
- Podcast
feature
 When should I replace my pedals? March 2021
When should I replace my pedals? How to avoid the expense of a new pair with simple maintenance
Your pedals see a lot of abuse; leave them to wear out and you’ll be buying new ones sooner than necessary. Thankfully, maintaining pedals is easy, as are the checks that you can do to look for wear. Here's how to prolong the life of your pedals and decide when it really is time for a new set.
Pedals deal with every effort that you make on the bike, and for the most part they do so very quietly. But the contact surfaces on a pedal are generally small, the bearings inside are tiny, and you’re asking the pedal to deal with a fair amount of force over and over again.
Issues from worn pedals
Worn pedals can cause numerous issues with poor cleat retention being the most dangerous. You really don’t want to pull your foot out of the pedal when you’re giving it the beans in a sprint, but thankfully this is rare.
The most common issue with a worn pedal is an annoying noise at a certain point in the pedal’s rotation. The blame for the noise can often be attributed to the bottom bracket or another part of the drivetrain and you can sometimes spend a lot of time working on parts – or even replacing parts – that aren't to blame.
Away from annoying noises, if you have an issue such as a loose axle or worn bearings within the pedal, these can degrade the axle and/or the inside of the pedal body. Left for too long, the pedal will eventually fail to turn freely and you’ll be forced to buy a new pair.
Identifying issues
The first thing that you’ll want to do is perform a visual inspection of the pedal body and your cleats. The cleats wear out quickest so we’ll start there. Thankfully, these are also the cheapest part to replace so if yours are worn out and causing issues, it isn’t a huge financial outlay to get new ones.
Worn cleats
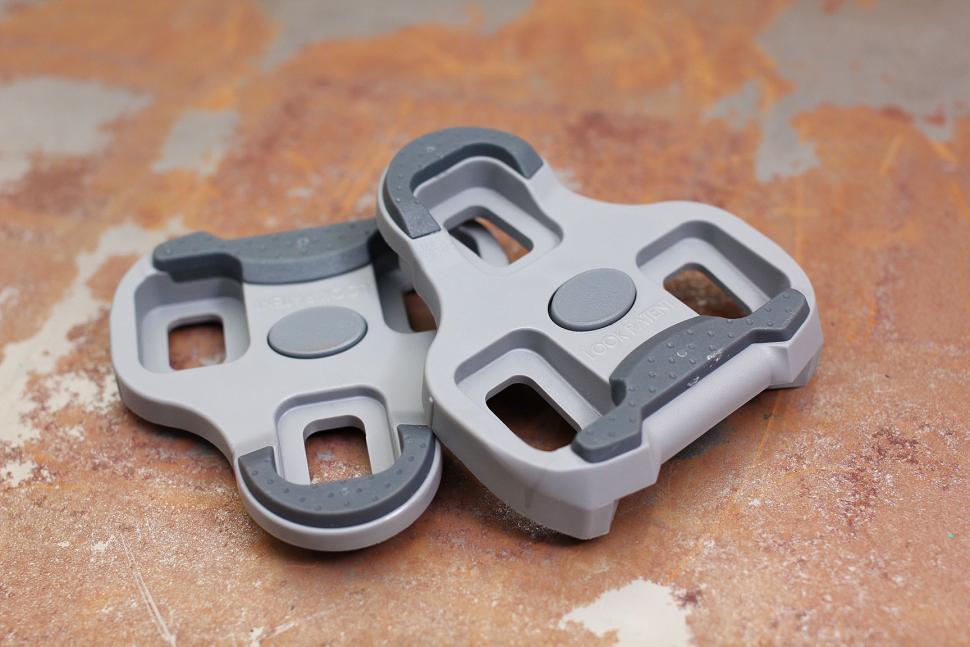
Most pedal cleats have wear indication marks on them which tell you when it's time for new ones.
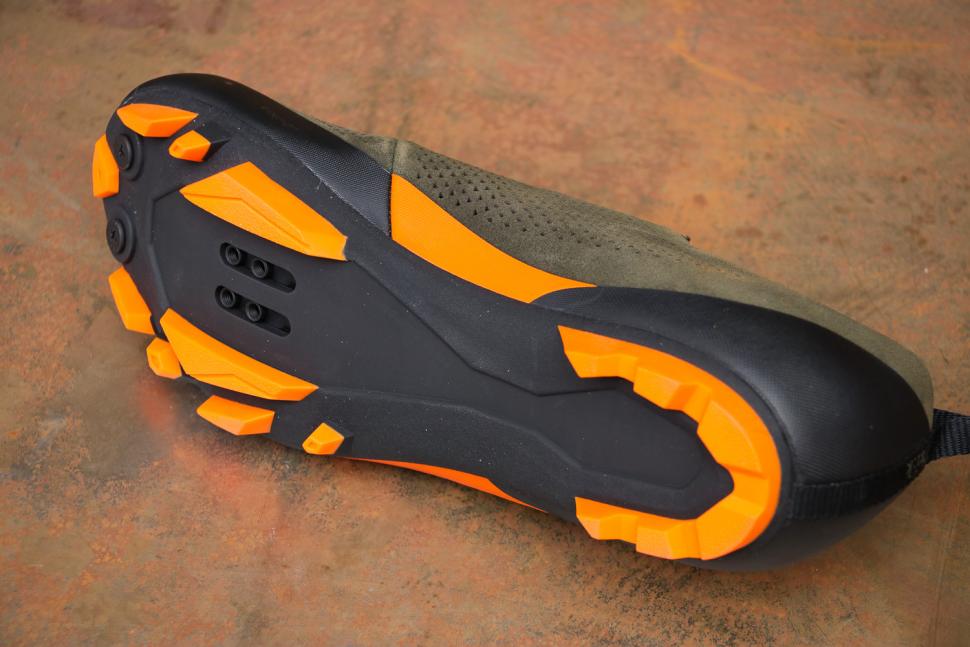
If you find that you wear through cleats within a few months then you might consider how much walking you are doing in your cycling shoes. Doing a lot of walking in road shoes? Maybe you’d be better off in MTB or touring shoes that have recessed cleats that contact the ground less.
When should you get new cleats?
A worn pedal body
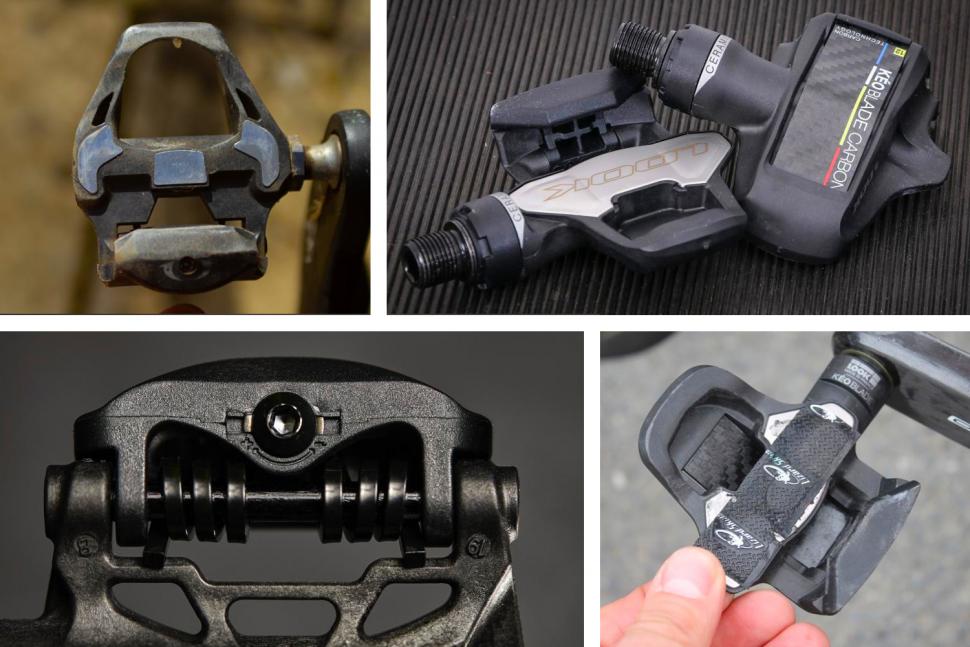
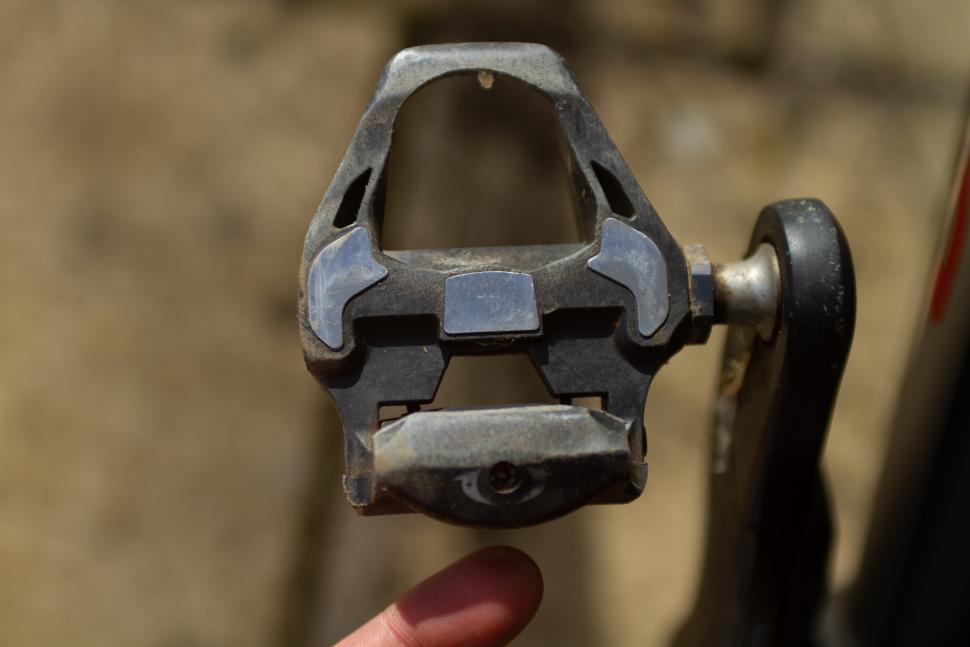
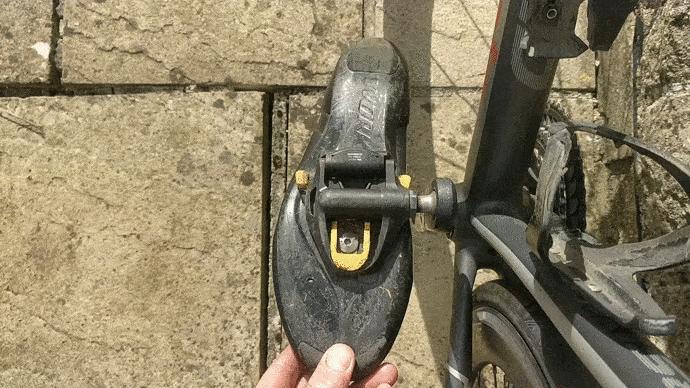
This example is an extreme case, but if you are experiencing float beyond what's normal, the likelihood is that the pedal body is worn out. The telltale sign is a groove worn into the front.
In this example, there is little else to do other than replacing the pedal. Thankfully, reaching this level of wear usually takes years.
Rocking
Cleat rock isn’t a new music genre, it’s a very annoying feature of a worn cleat or badly worn pedal body. If you find that you get this play on one shoe, then you may be seeing the effects of an unbalanced pedal stroke where you place more force through one side of the foot.
While this isn't necessarily an issue, you may wish to have a specialist examine your pedalling if knee or hip pain becomes an issue.
Lateral movement
Any lateral movement of the pedal body on the axle needs to be sorted immediately as you run the risk of damaging the pedal beyond repair. To fix this, you simply need to tighten the axle up, details of how can be found below. If your pedal axle is already done up and there is still lateral movement, it might be time to replace your pedals.
Clicking
Ah, the dreaded mystery click. It could be coming from your bottom bracket but it could just as easily be originating in the pedal area. The first thing to check is whether your cleats are worn. Then check that the cleat bolts are tightened correctly. Next, it is time to check for any play between the pedal body and the axle.
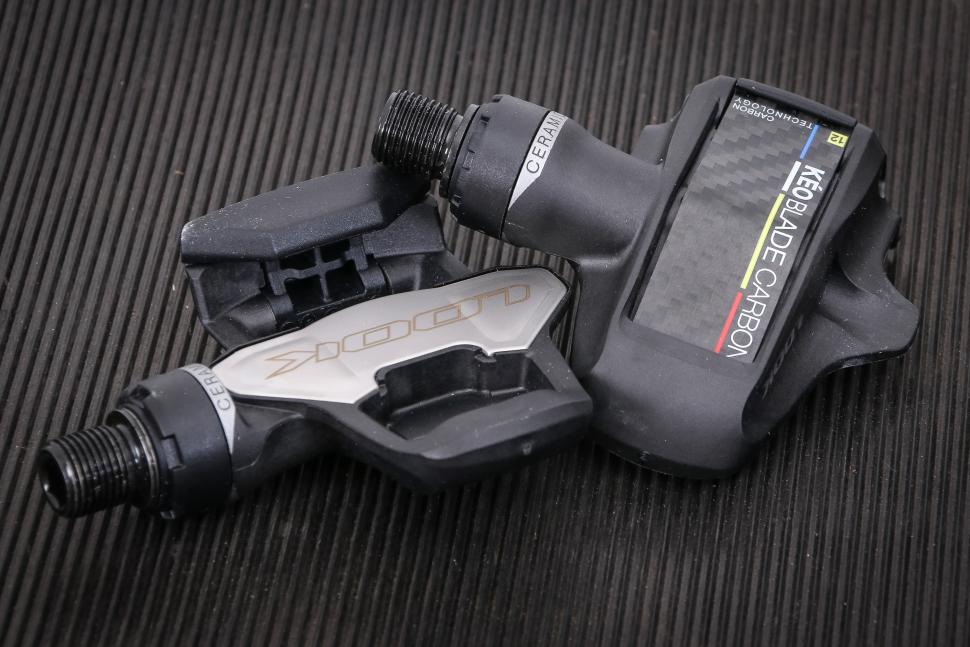
Eliminating those issues should stop the click but if it hasn’t, there could be a small gap between the pedal body and the cleat. This is a problem that seems to occur on Look Keo Blade pedals from time to time. A strip of very thin bar tape glued to the pedal body protection plate can help.
Worn or dry bearings
Worn or dry bearings are easy to hear. The sound is just like the soft whoosh that your wheel bearings make when they dry out.
Sort out this problem as quickly as possible. While dry bearings might spin quickly, it isn’t the best for their lifespan so unless your pedals have ceramic bearings inside you’ll want to bung some new grease in. Instructions for Shimano, Look and Speedplay/Wahoo systems are below.
Pulling your foot out
Unexpectedly unclipping, be that during an all-out effort or just general riding, is not nice. The cause can be an irregular pedalling action which is often the case when you launch a stinging sprint, but if this has been happening regularly then there are two things to check.
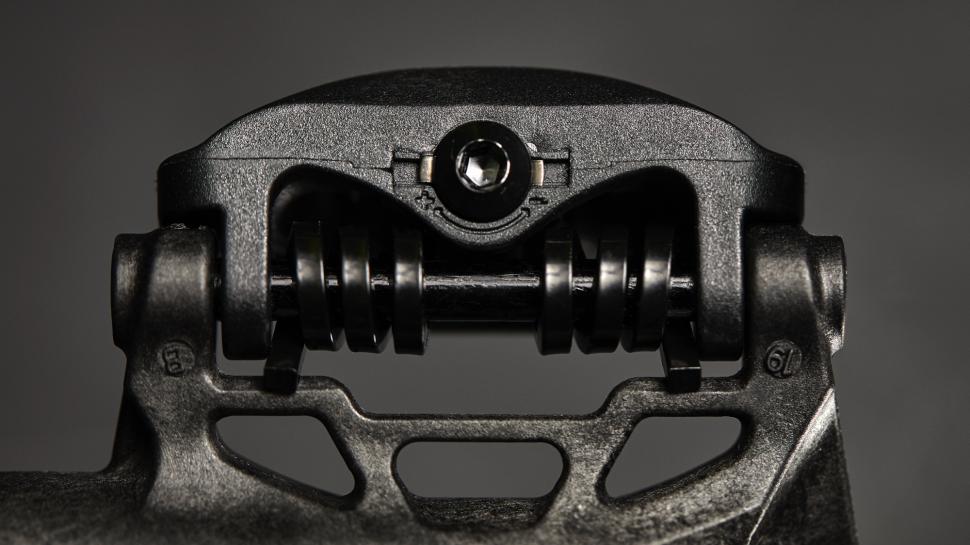
First, we’re back to checking for worn cleats. If you’ve eliminated the cleats as the cause, you may wish to consider increasing the release tension if your pedal system allows this. Shimano and Look Classic pedals have adjustable release tension which you can tune via a grub screw at the back of the pedal body.
Look Keo Blades have various blade tensions. Increasing from the 8 Nm blade to the 12, 16 or even 20 Nm blade could be the answer.
Quick maintenance
If you have rough or dry bearings or play in your pedals then the fix is really simple – all you need to do is replace the grease inside the pedal body. Each pedal brand has a slightly different way of doing this, but the process for each is pretty simple, so it’s a good fix to attempt before buying a new pair of pedals. We’ll walk you through the basic steps for each system below.
With any system, it is important when looking to clean and replace pedal axle grease that you don’t end up contaminating the new grease with dirt from the pedal body. Clean your pedals thoroughly using hot soapy water and then dry them before starting work.
Shimano
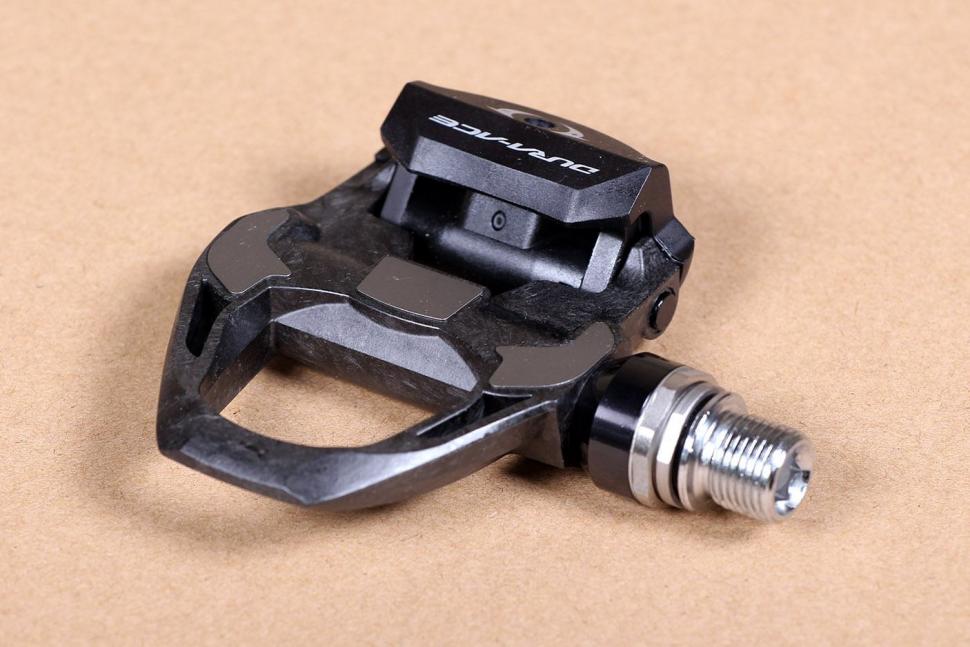
Firstly identify the locking nut or collar of your system. Most SPD-SL pedals and newer SPD pedals use a 17mm lockring. Older SPD and cheaper SPD-SL pedals use a nylon lockring that requires a special tool. Best practice requires you to buy the tool if required, otherwise, you could round the teeth on the nylon lockring.
Clamp the pedal body in a vice and then undo the lockring using the appropriate tool.
With the lockring undone, you can remove the axle from the pedal body. Clean off the contaminated grease with a rag. If there is a heavier build-up of dirt, use the soapy water to clean both the axle and pedal body thoroughly.
Dry everything before grabbing a tube of grease. You want something nice and thick, even on performance pedals. Fill the pedal body with grease to around 3/4 full.
Reinsert the axle and tighten the lockring. Wipe off any excess grease and don’t be surprised to find more excess grease coming from the pedal body after the first few rides.
Look
The process for Look is similar to that of Shimano (above). You’ll need a 19mm spanner to undo the lockring which, when undone, will allow you to remove the axle just like a Shimano pedal.
As you do, be careful to keep grease from the axle away from the threads. These take Loctite thread locker before you reassemble so you don’t want to contaminate the surface.
Again, clean the axle and inside of the pedal body before letting everything dry. Apply heavy lithium grease to the axle and inside of the pedal body. You don’t need as much as with Shimano, just apply generously.
Ensure that the new grease doesn’t touch the threads on the axle or inside the pedal body as you reinsert the axle. Then simply tighten the lockring to the specified torque.
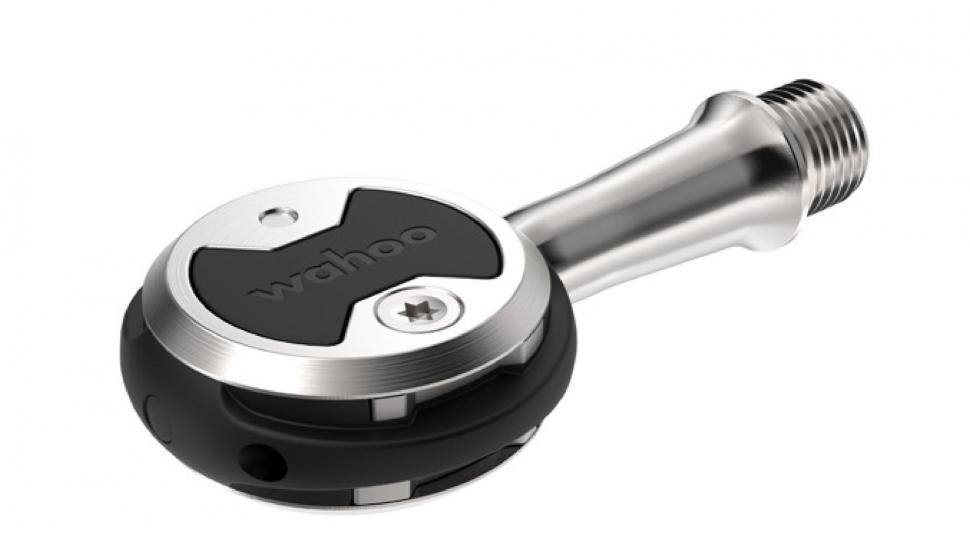
Speedplay/Wahoo
Refreshing the bearings in Speedplay pedals is a very easy process. First, remove the grease port screw with a Phillips 1 screwdriver. This is quite a small screw, so be careful to clean the pedal beforehand and use the correct screwdriver to ensure proper tool-screw connection.
With the grease port open, simply push new grease into the pedal using a grease gun or syringe. You need to push grease through the pedal. Old grease will ooze from the far side of the pedal body and you want to keep going until fresh grease starts to appear.
Wipe the old grease and any excess away from the axle and reinstall the grease port screw.
With the new Wahoo designs, there is no grease port as the pedals have moved to using sealed bearings.
Whatever pedal system you’re working on, now is a great time to clean and regrease the pedal threads as well as the crank threads. Use the degreaser that you’d use for your chain, rinse and dry before applying fresh grease.
Latest Comments
- don simon fbpe 17 min 31 sec ago
Such wise words from a head on such young shoulders.
- leedorney 1 hour 33 min ago
That's just the right size for a cycle route... BUT NO the car has to shine
- HarrogateSpa 1 hour 40 min ago
Ok but that is of marginal if any relevance to this case.
- KDee 2 hours 47 min ago
I'm still running an ELMNT BOLT V1, and I've never really understood the LED's. I'm sure I configured them for HR zones, but never really look at...
- chrisonabike 2 hours 49 min ago
Mostly agree. Although ... high level sport is complicated. It's not wrestling exactly, but there sometimes seems to be more than a little...
- David9694 3 hours 54 min ago
It just seems a lot of trouble to go, doesn't it. If you are into building stuff like this perhaps some system where the vehicle brings you to...
- don simon fbpe 4 hours 12 min ago
Why is this not the will of god?
- hawkinspeter 7 hours 15 min ago
PKD foresaw it, though his novel was based on a different outcome of WWII, not the precursor to WWIII. Maybe the Idiocracy film is a closer fit?
- OnYerBike 9 hours 18 min ago
@Sredlums: I'm not sure I follow your logic. If someone grabs your helmet twists it, then the reason it doesn't feel good is because the outer is...
- Rapha Nadal 9 hours 18 min ago
Coming to the mid-paced Saturday club ride soon.



Add new comment
1 comments
Good to know that my TIME pedals don't wear out and don't need replacing at all.