- News
- Reviews
- Bikes
- Components
- Bar tape & grips
- Bottom brackets
- Brake & gear cables
- Brake & STI levers
- Brake pads & spares
- Brakes
- Cassettes & freewheels
- Chains
- Chainsets & chainrings
- Derailleurs - front
- Derailleurs - rear
- Forks
- Gear levers & shifters
- Groupsets
- Handlebars & extensions
- Headsets
- Hubs
- Inner tubes
- Pedals
- Quick releases & skewers
- Saddles
- Seatposts
- Stems
- Wheels
- Tyres
- Tubeless valves
- Accessories
- Accessories - misc
- Computer mounts
- Bags
- Bar ends
- Bike bags & cases
- Bottle cages
- Bottles
- Cameras
- Car racks
- Child seats
- Computers
- Glasses
- GPS units
- Helmets
- Lights - front
- Lights - rear
- Lights - sets
- Locks
- Mirrors
- Mudguards
- Racks
- Pumps & CO2 inflators
- Puncture kits
- Reflectives
- Smart watches
- Stands and racks
- Trailers
- Clothing
- Health, fitness and nutrition
- Tools and workshop
- Miscellaneous
- Buyers Guides
- Features
- Forum
- Recommends
- Podcast
Disc brake refresh: maintenance and top tech tweaks for effective and quiet braking

This article includes paid promotion on behalf of Unior Tools
If your disc brakes aren’t working as they should, then it can be a bit daunting knowing where to start... but don’t fear, help is at hand and it might be simpler and less expensive than you think.
Hydraulic disc brakes are pretty commonplace on road bikes these days, but they still get a pretty bad rep for being troublesome to maintain and noisy out on the road. In many cases, there's no need to take a trip to the bike shop even if you're not mechanically minded. These simple checks and procedures will help you stay on top of your braking performance, keeping you safe and reducing the chance of irritating squealing.
What do we cover in the video?
Cleaning pads and rotors including removal (0:28)
Swapping over your brake hoses, if your bike has come Euro-style/if you want to go Euro-style (5:00)
How to bleed your brakes, with Sram Rival used as an example (8:22)
Pad and rotor cleaning
Contrary to popular belief, disc brakes aren't meant to howl and squeak every time you pull the lever. This is often caused by the rotors and pads being contaminated, and whether it's oil from the road, your drivetrain or even just your fingers it needs to be gone.
Shimano says: “Cleaning your rotors regularly with a specific (oil-free) disc brake degreaser is a good way to avoid squealing brakes. Cleaning your pads too can also help quieten things down."
For this job, you will need the following tools:
- A very clean rag
- Isopropanol alcohol or a specific disc brake cleaner,
- Disposable gloves
- The necessary tool to remove the retention pin (Usually a 2.5mm allen key, flat-head screwdriver or Torx T25)
- You may also require some sandpaper
The first thing to look at is the rotors. These can usually be cleaned without taking them off, so is an easy job. We recommend using Isopropanol alcohol as it can be found for cheaper than most specific disc brake cleaners and is very effective; however, you should wear gloves when using it as it's not very kind to the skin.
Focus on getting any dirt and grime off the braking surface of the disc, and don't forget to clean both sides. Always use a very clean rag or paper towel as you don't want to risk contaminating them further.
To check the thickness of your rotors it's best to use vernier callipers. The minimum disc width is usually stamped onto the disc itself. For Shimano this is typically 1.5mm, and for Sram 1.55mm.
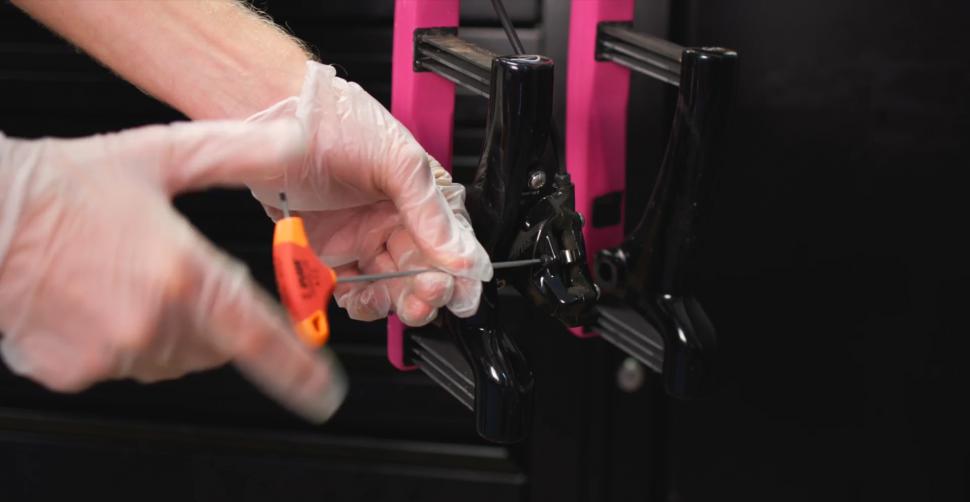
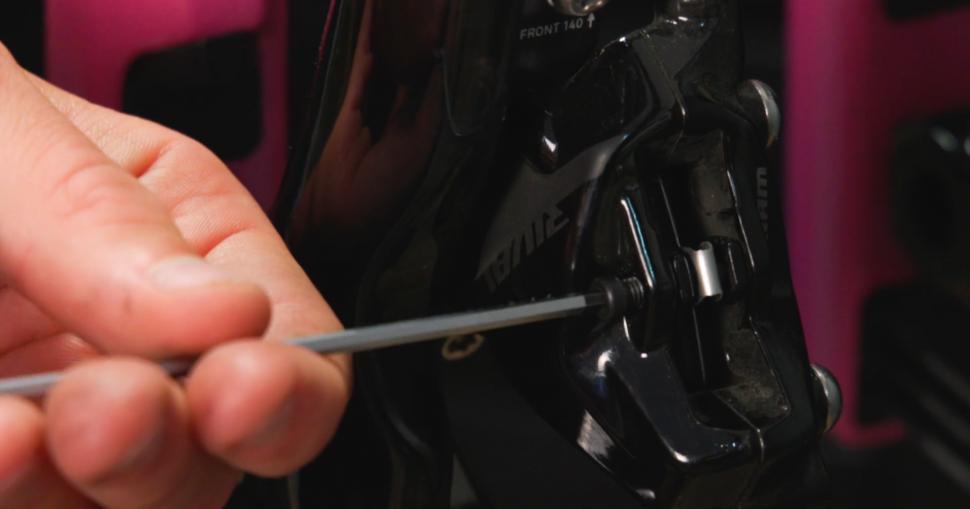
Next, we're going to turn our attention to the pads, as it's best practice to remove these to do the job properly. Remove the clip off the back of the pin and put it somewhere safe, then carefully remove the pad retention pin. Once this is removed, the pads should slide out.
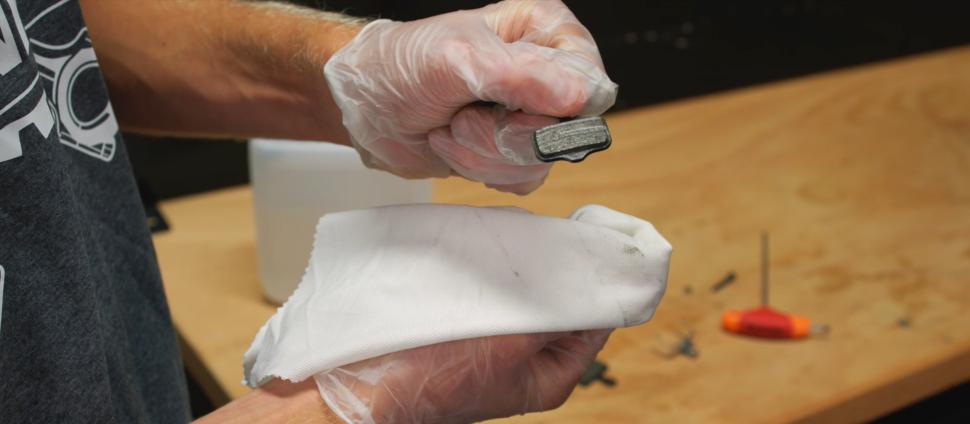
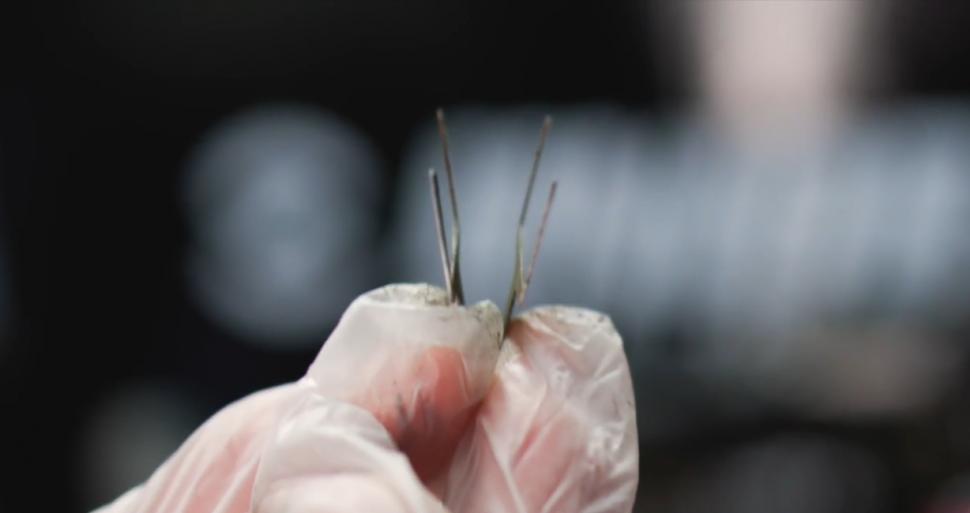
Separate the pads from the metal spring and clean all the components using a clean rag and Isopropanol alcohol, being careful not to deform the spring. Whilst they're out it's worth checking how much meat is left on them. The pad material should easily clear the metal spring, which should have four unbent legs.
Brake pads are porous so absorb grease and oil. If this has happened then you will almost certainly have to replace them, but it can be worth sanding off the top surface using sandpaper first to see if this solves the problem before opening your wallet.
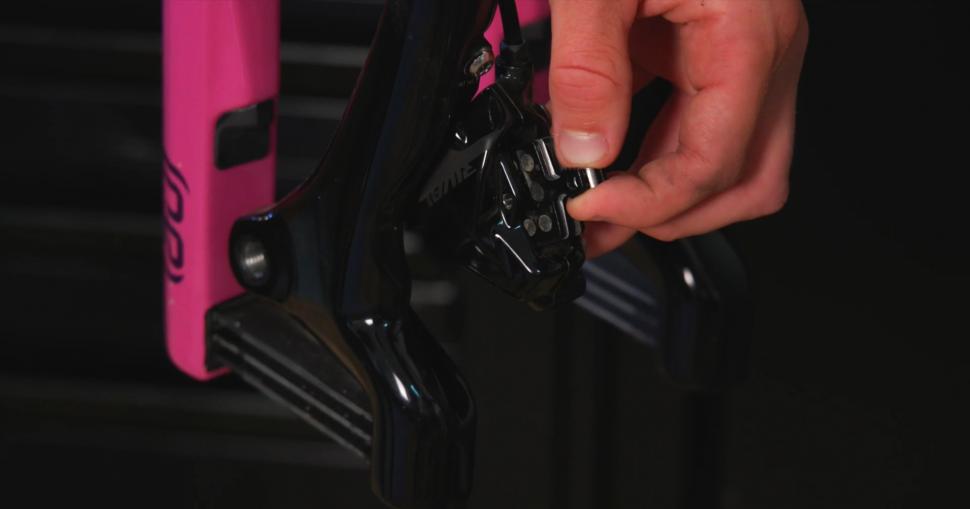
Before popping them back in, give the rest of the calliper and pistons a clean as well. Once you've done that and the pads are back in, make sure you grease the threads of the pad retention pin as they have a habit of seizing. If you're a Shimano R8000 Ultegra user then you've probably already discovered this, and we recommend swapping it out for the mountain bike Shimano XT version of the same size which is much more robust. Just nip it up (it doesn't need to be as tight as possible) and don't forget to put the clip back on the other end.
Swapping over your brakes
Riding over on the left here in the UK means that most of us have got used to having the rear brake in the left hand and the front in the right. That's not the case over on the continent or in America, and sometimes when purchasing a new bike it doesn't always come the way that you'd like it.
The tools you'll need to swap over are:
- Scissors/knife
- Insulation tape
- 2 x barb & olive
- T8 Torx (For Sram)
- 8mm spanner
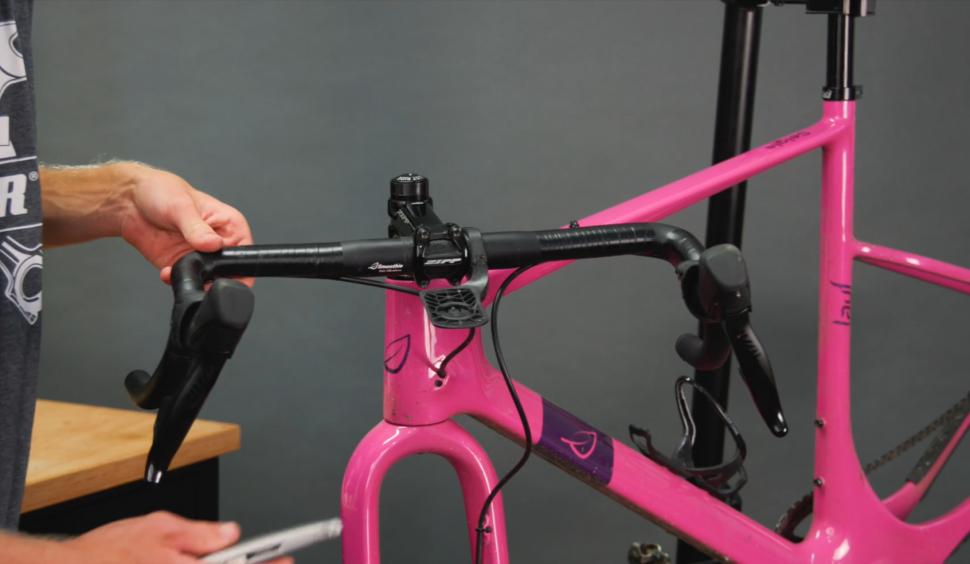
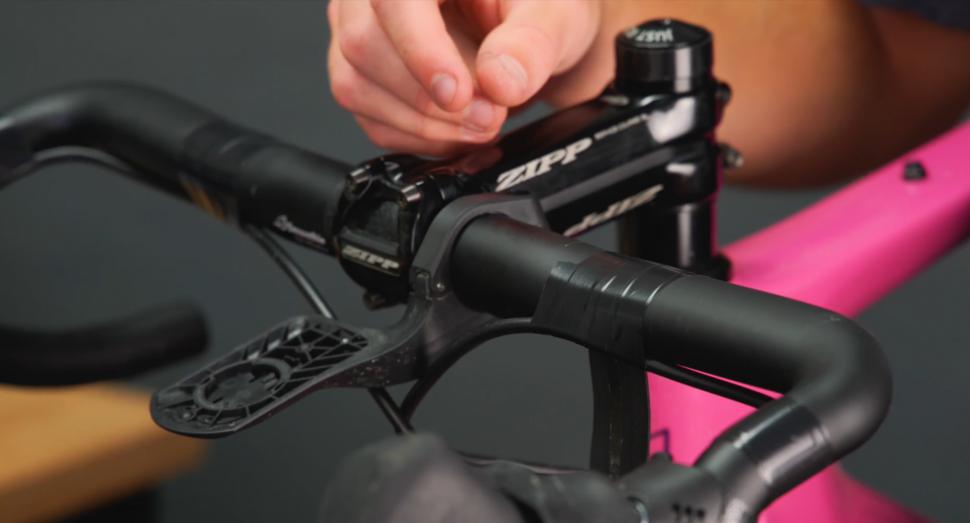
Swapping over the brakes is a pretty simple job and can usually be done without rerouting or purchasing new hoses. The first thing to do is remove the bar tape, and if you're careful then this can often be reused. Next, cut any insulation tape holding the hoses to the bars so that they're free.
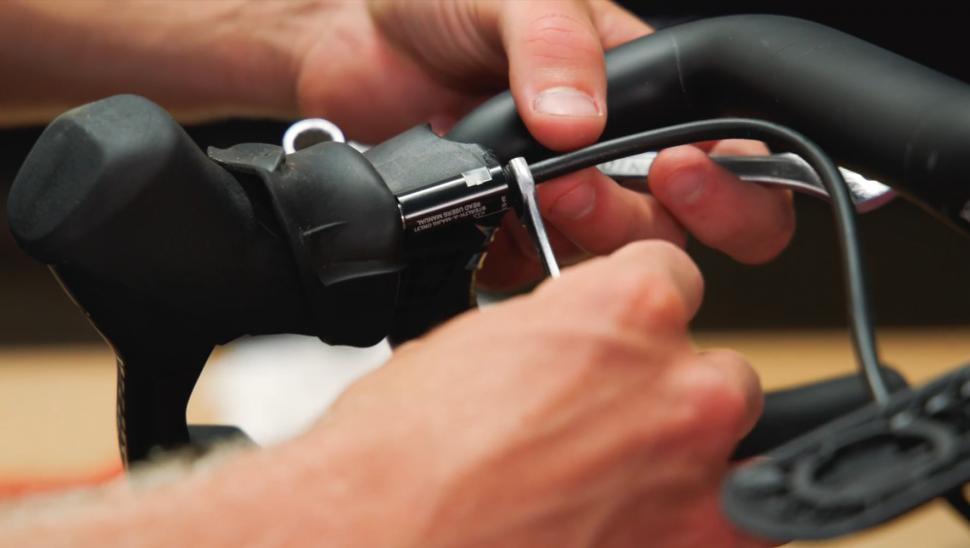
Removing the hoses from the shifters will vary depending on what system you are using, but most road set-ups have a nut that needs to be undone using an 8mm spanner. Once this is removed, a sharp tug on the hose will pull it out of the shifter. It's then a case of switching over the hoses and getting them neat. Make sure that both are long enough even when turning from lock to lock.
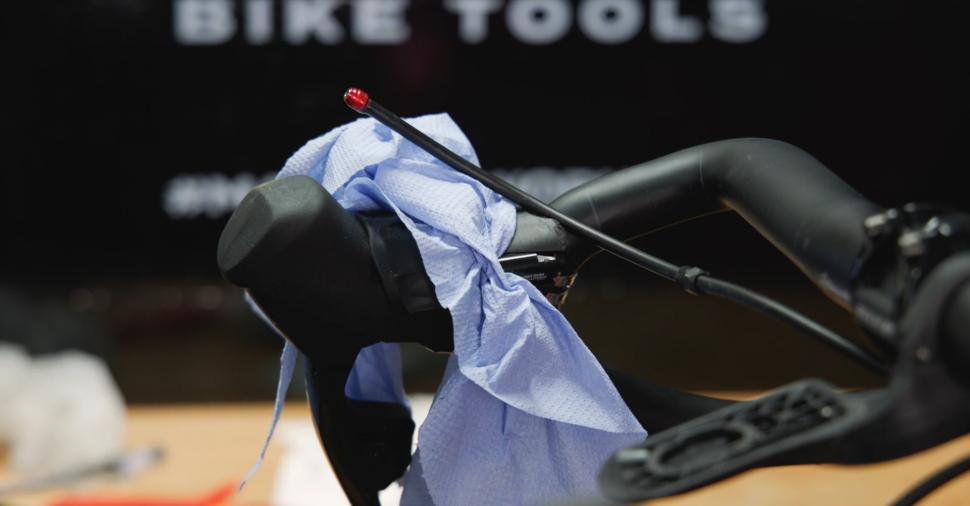
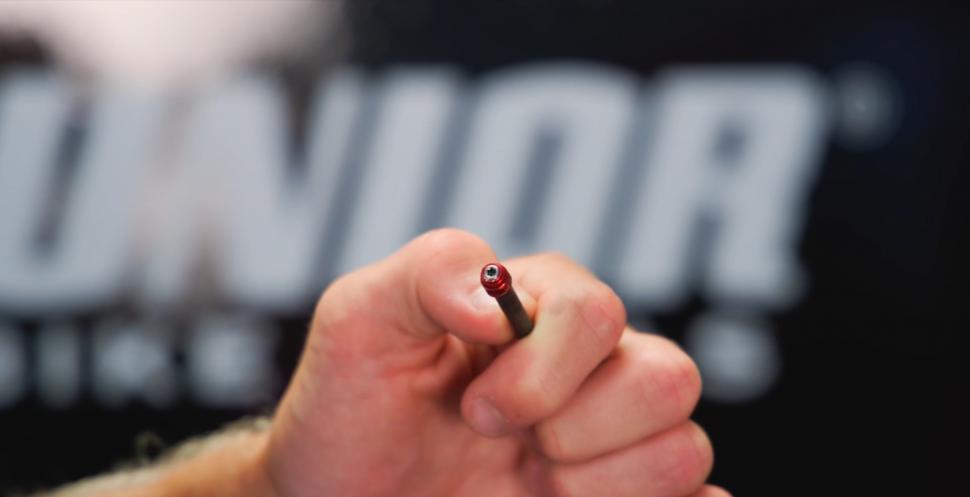
Most bikes come with a bit of spare hose thanks to lazy mechanics, so this is a good opportunity to cut down any excess. If not then chop off the old barb and olive and put a new one in its place. The barb is typically silver or grey and needs hammering into the inside of the hose, which stops the hole from closing up. You can get some very expensive tools to help you do this, but usually, a hammer, some patience and a tapered object will get it in just fine.
Next, remember to put the threaded screw back onto the hose before doing anything with an olive (that's the red bit in the above photo). The olive is usually brass and is designed to crush to create a tight seal, which is why they shouldn't be reused. In the photo above. Saying this, we have seen them successfully reused in the past with no leaks; however, it's best practice to just do the job properly and replace them. It doesn't take long and could save a headache later.
Push the hose as far in the shifter body as it will go, and then start doing up the screw on the hose. It's sometimes easiest to loosen the shifter to make sure it's screwing in straight, which will reduce the chance of cross-threading. This screw needs to be done up tight enough to crush the olive, typically around five to seven-newton meters.
You can then tape the hoses to the bars using insulation tape, ensure that they're tucked out of the way and then you can retape your bars.
> Youtube: How to wrap bar tape
> Buyers Guide: 10 of the best handlebar tapes 2022
Bleeding your brakes
Hydraulic brakes work on the basis that brake fluid is not compressible; however, if air is in the system it can cause the brake to have a mushy feel at the lever, as the air compresses instead of displacing the pistons. We can overcome this by 'bleeding' the system and replacing these trapped air bubbles with brake fluid.
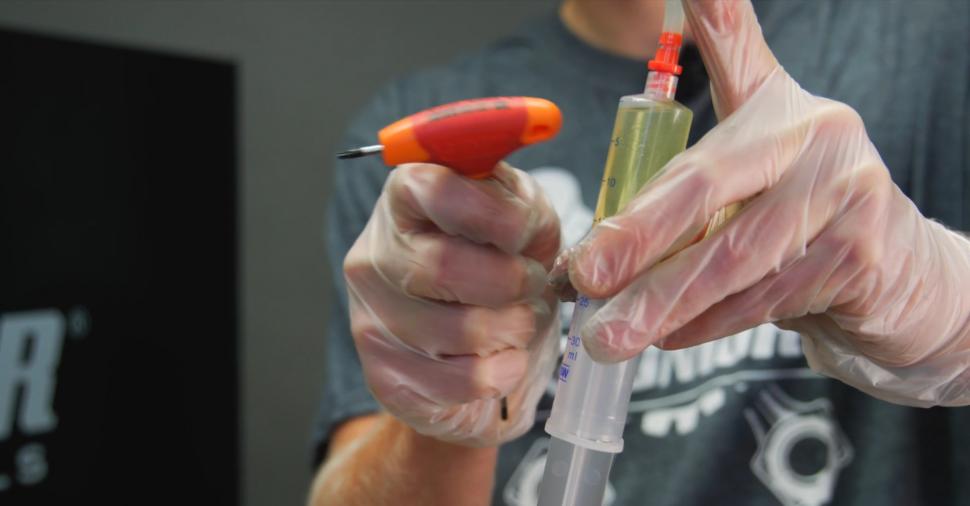
Firstly we’re going to want to put back on our protective gloves and then fill our two syringes, one a quarter full and the other half full. Try to avoid getting any bubbles in here, which will make your life a lot easier later.
Remove additional bubbles by tapping the syringe with something hard and then when they rise to the top, push them out using the plunger.
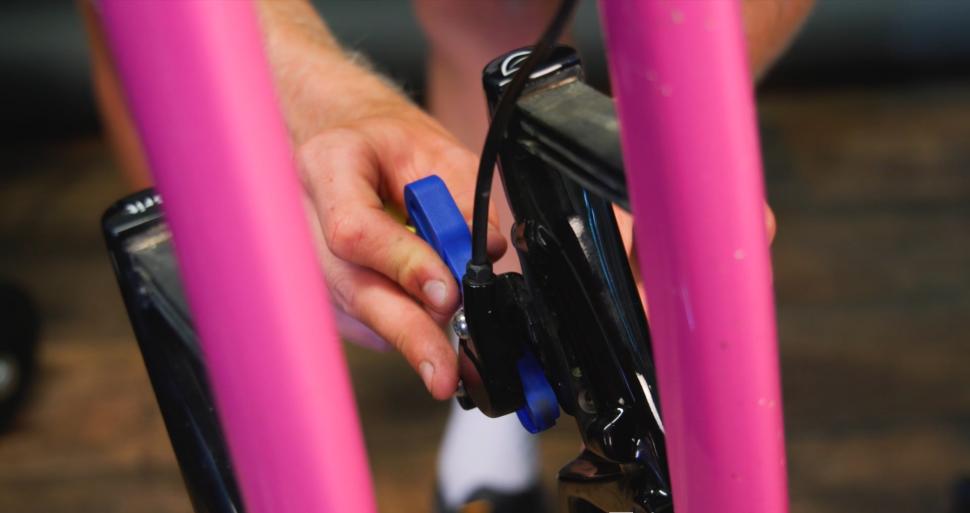
We always bleed brakes with the pads removed to avoid them getting contaminated, and if you haven’t already then remove them now. In their place, we’re going to put a bleed block. This is designed to stop the pistons from pushing out as we force more fluid into the system.
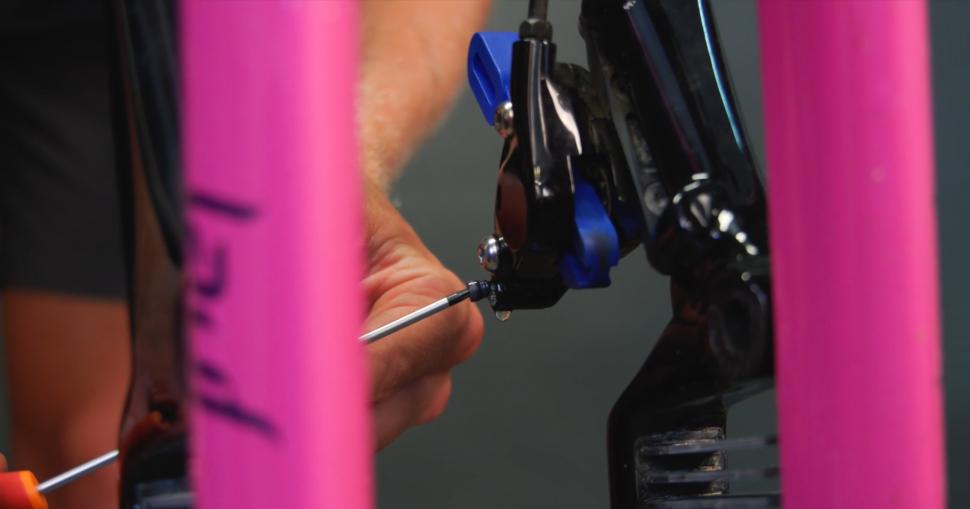
Next, remove the bleed port screw on the calliper. Wipe up any drips of fluid and make sure you put the screw somewhere safe, as they’re very easy to lose.
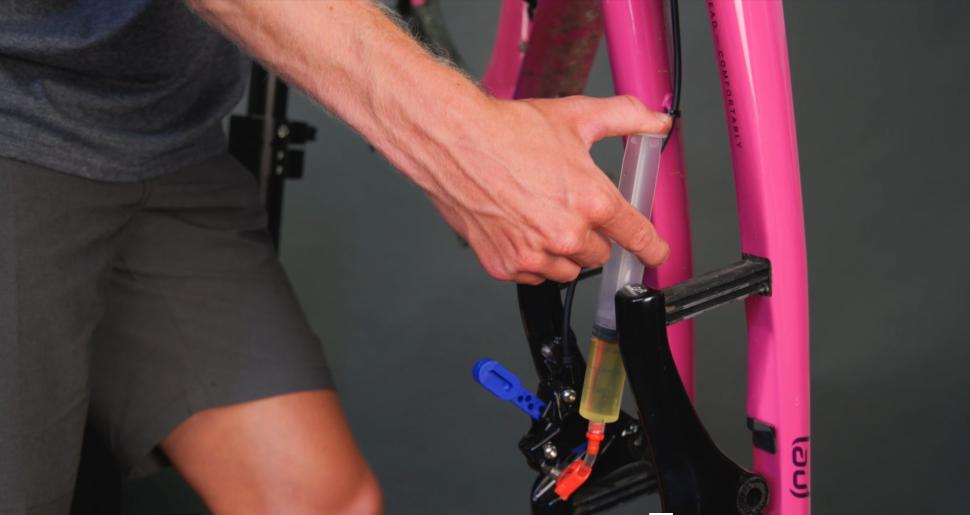
On to the calliper, we’re now going to thread on our half-full syringe, up at the shifter end, peel back the rubber hood of the relevant brake and find the lever bleed port screw. Remove the screw with a Torx key whilst being careful to not get any fluid on the hood. Once that is off, once again put it somewhere safe and then screw on the quarter-full syringe.
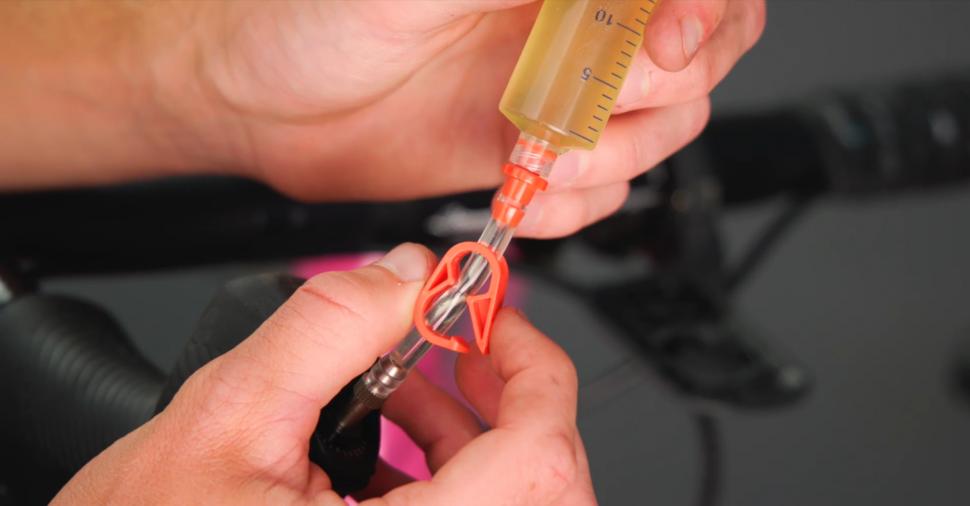
Now we’re ready to push fluid through the system. Make sure both hose clamps are open and apply gentle and steady pressure to the calliper syringe plunger. We’re going to stop before we get to the end as we don’t want to push any air into the system. If you do then we’re going to have to start again.
Push the fluid back and forwards and each time you should see fewer and fewer air bubbles. If after five or six pushes there is still a large quantity of air then you may need to check the seals on the syringes.
Next, flick the brake lever to release any stubborn air bubbles, push the fluid through and then close the hose clamps. Then, remove the calliper syringe and put the bleed port screw back on, not too tight but nipped.
Remove the shifter syringe and replace the bleed port screw.
Now when you squeeze the brake you should feel it build pressure and not pull to the bar. Pop the pads back in following the process discussed earlier, and test the brakes before heading off for any sharp descents!
Jamie has been riding bikes since a tender age but really caught the bug for racing and reviewing whilst studying towards a master's in Mechanical engineering at Swansea University. Having graduated, he decided he really quite liked working with bikes and is now a full-time addition to the road.cc team. When not writing about tech news or working on the Youtube channel, you can still find him racing local crits trying to cling on to his cat 2 licence...and missing every break going...
Latest Comments
- David9694 7 min 42 sec ago
Here's Kent's version of West Portholland, Cornwall...
- mdavidford 32 min 21 sec ago
Yeah, but it's obviously a mistake - to detect braking you'd need a decelerometer.
- Rendel Harris 1 hour 52 min ago
That wouldn't be new, more than twenty years ago my insurers tried to avoid paying out on the theft of my motorcycle on the grounds that I couldn't...
- Pub bike 6 hours 8 min ago
The highway code doesn't say "If you are approaching a cyclist from behind sound your horn"....
- Disgusted of Tunbridge Wells 8 hours 34 min ago
Erm... You forgot to mention The Tyne Tunnel opened in 1951!!!...
- Destroyer666 9 hours 7 min ago
Always? So the guy is asked to appear on a podcast to discuss performance enhancing drugs and answers questions posed to him, which go beyond what...
- don simon fbpe 14 hours 47 min ago
Why is this not the will of god?
- hawkinspeter 17 hours 50 min ago
PKD foresaw it, though his novel was based on a different outcome of WWII, not the precursor to WWIII. Maybe the Idiocracy film is a closer fit?
- OnYerBike 19 hours 53 min ago
@Sredlums: I'm not sure I follow your logic. If someone grabs your helmet twists it, then the reason it doesn't feel good is because the outer is...
- Rapha Nadal 19 hours 53 min ago
Coming to the mid-paced Saturday club ride soon.

Add new comment
5 comments
It should be clearer that the bleeding instructions are specific and won't work for Shimano.
What a faff
Yes, but file under "unnecessary miscellaneous tasks to fill an otherwise empty day when you're bored and can't find anything better to do."
My hydraulic brakes work. I change the pads as needed. One day I'll have to change the disc too, I guess. That's it.
I hoped this too...
But, it would appear that life is rarely that simple.
My Hopes use a fluid that's quite hygroscopic, meaning loss of power after time, the first pull would be spongey, hardening on a repeated pull. So complete fush once a year, with a bleed after a few weeks, just because.
With a cleaning of the pistons and a lubricate to service, done when changing pads too.
Hopes bleed kit works, Parks piston press means I can push those pistons without hurting them and those 3D printed things from r3pro really helped.
Mine are Shimano 105, resin pads. I'm told the fluid is mineral oil, but I'm yet to need to know.